
For most flagstone patios, Type S mortar (Portland cement, hydrated lime, and sand mixed to ASTM C270 proportions) is the right call. It's strong enough for exterior use, flexible enough with lime to resist minor movement, and it handles freeze-thaw cycles better than the stiffer Type M. If you are wondering about the grout side of the job, the best grout for flagstone patio work is the one that matches your joint width, drainage, and freeze-thaw conditions. If you're in a mild climate and want something more workable, Type N is a reasonable step down. If you're setting flagstone on an existing concrete slab with a thin bed, a polymer-modified thinset adhesive mortar is what you need instead. The setup you're working with drives the choice more than anything else. If you are still comparing patio styles, it helps to know what a flagstone patio is before choosing the right mortar and setting method what is flagstone patio.
Best Mortar for Flagstone Patio: Mix, Apply, and Tips

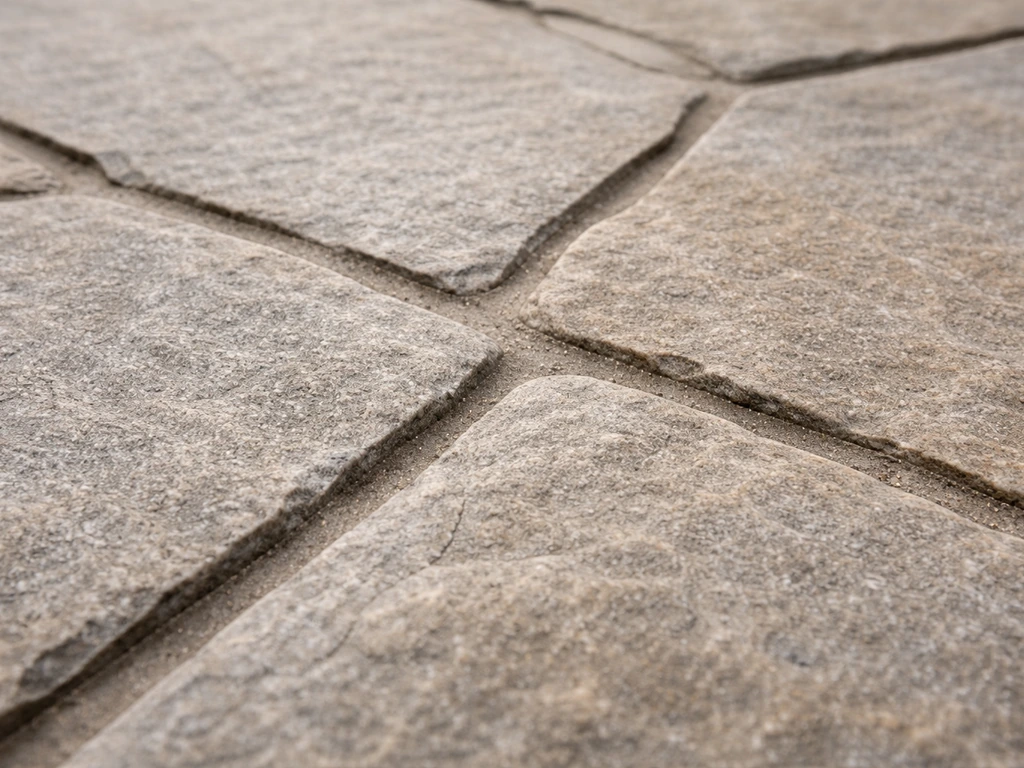
The best mortar choice by patio setup
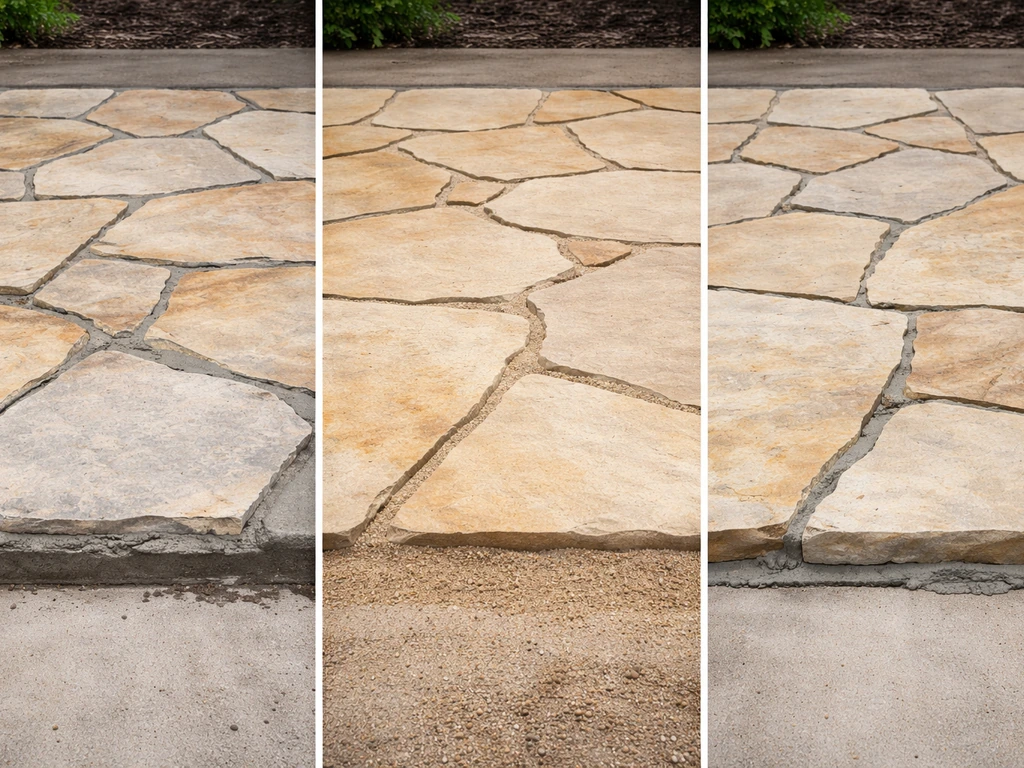
Before you buy anything, figure out which of the three main approaches your patio uses. Each one calls for a different material, and mixing them up is the single biggest reason flagstone jobs fail early.
| Patio Setup | Best Material | When to Use It |
|---|---|---|
| Mortar-set on concrete slab (thick bed) | ASTM C270 Type S mortar | New slab or existing cured slab, any climate, high foot traffic |
| Mortar-set on concrete slab (thin bond) | Polymer-modified thinset adhesive mortar | Flat, level slab where bed depth is under 3/4 inch |
| Sand-set with mortared joints only | Type S or Type N pointing mortar | Flagstone on gravel/sand base, joints filled after dry-lay |
| Sand-set with no mortar joints | Polymeric jointing sand | Dry-laid, permeable patio in any climate; easiest to DIY |
| Repair and repointing | Type N pointing mortar | Replacing failed joints in an existing mortared patio |
If your patio is fully dry-laid on a compacted gravel base with sand bedding and you just want the joints filled, you don't need traditional mortar at all. Polymeric jointing sand handles joints up to 2 inches wide and is genuinely easier to work with. The rest of this guide focuses on scenarios where real mortar is the right tool.
Mortar vs. sand-set vs. thinset: what each one actually is
Mortar in the traditional sense is a mix of Portland cement, hydrated lime, and sand with water. The cement provides compressive strength, the lime adds flexibility and workability, and the sand is the bulk filler. For flagstone, you're using it two ways: as a setting bed (the material the stone sits on) and as a joint filler (packed between stones). These can be the same mortar mix or slightly different ones depending on how thick the bed needs to be.
Sand-set flagstone skips the mortar bed entirely. Stones sit on a layer of compacted gravel base topped with bedding sand, usually ASTM C33 sharp sand at roughly 1 inch deep. The joints between stones can be filled with more sand, polymeric sand, or pointed with mortar after the fact. This is the residential default for good reason: it's permeable, easier to level, and forgiving when the ground shifts. The tradeoff is that individual stones can wobble or shift over time if the base settles.
Thinset adhesive mortar is a completely different animal. It's a cementitious adhesive with polymer modifiers designed for bonding tile and stone to a solid substrate at bed depths under 3/4 inch. If you're setting flagstone directly onto a cured concrete slab and the slab is flat and stable, thinset is the right bonding layer. Using traditional mortar at that thin a depth will almost certainly crack because there isn't enough mass to absorb movement stress.
Best mortar mix for flagstone joints: ingredients and proportions
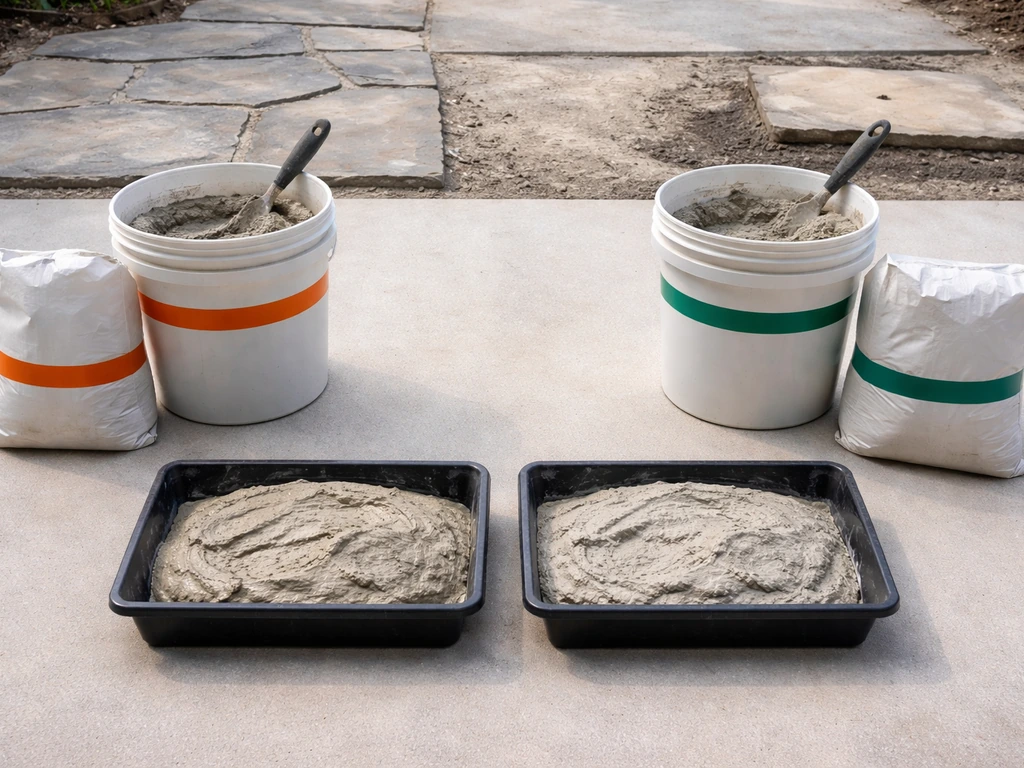
For a mortar-set flagstone patio with a proper concrete subbase, Type S mortar is the industry standard. The ASTM C270 Type S proportions by volume are roughly 1 part Portland cement, 1/2 part hydrated lime, and 4.5 parts mason's sand. In practical bagged-product terms, you can buy pre-blended Type S mortar mix from brands like Quikrete or Sakrete and just add water. That's genuinely the easiest route for most homeowners because the proportions are already correct.
For pointing joints only (not a setting bed), Type N mortar is workable in mild climates. The ASTM C270 Type N proportions are 1 part cement, 1 part lime, and 6 parts sand. It's a softer mix, which makes it easier to tool and less likely to crack in narrow joints where movement stress concentrates. One spec I've seen for sand-and-mortar-set paving lists Type N with 1 part cement, 1 part lime, and 3 parts sand as the joint-fill proportion, which is slightly richer than the standard and works well for flagstone gaps.
The lime content matters more than most people realize. Lime does two things: it makes fresh mortar sticky and workable, and once cured it gives the mortar some flexibility to absorb micro-movement without snapping. Air-entraining hydrated lime (Type SA under ASTM C207) adds microscopic air bubbles that help freeze-thaw performance by giving trapped water somewhere to expand. If you're in a cold climate, either use a bagged Type S product with masonry cement (which already entrains air) or specifically look for air-entraining hydrated lime when mixing from scratch.
What to avoid in the mix
- Don't substitute regular play sand or beach sand for mason's sand. The rounded grains reduce bond strength significantly.
- Don't add extra Portland cement to make the mix stronger. High-cement mixes are brittle and crack under movement stress.
- Don't add anything beyond clean potable water to a pre-blended bagged mortar unless the manufacturer specifically lists an additive (like a bonding agent) on the data sheet.
- Don't use Type M mortar for flagstone joints. Its high compressive strength (2500 psi+) makes it too rigid, and it will crack the stone before it cracks itself.
Choosing mortar based on your climate, drainage, and traffic
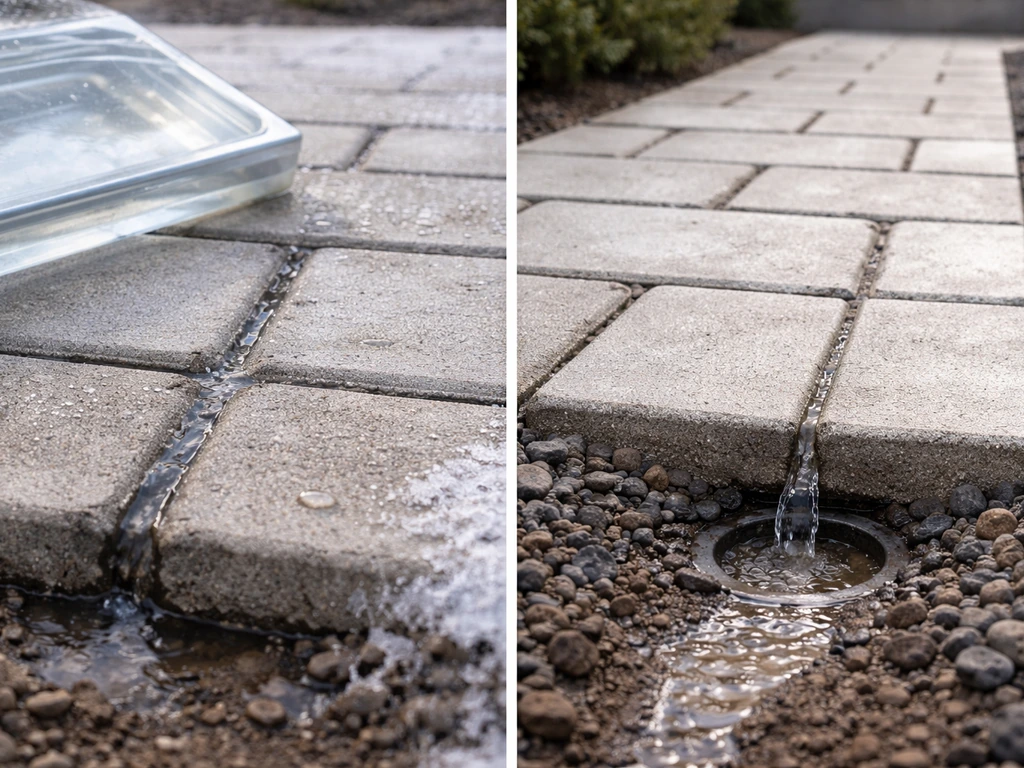
Climate is the biggest variable. In freeze-thaw zones (roughly USDA hardiness zones 6 and colder, anywhere that sees repeated hard freezes), water infiltration into mortar joints is your enemy. Water expands about 9 percent when it freezes. If joints are full of moisture and that moisture freezes repeatedly, the mortar spalls and cracks within a few seasons. The solution is twofold: use air-entrained Type S mortar that can absorb some of that expansion stress, and make sure the patio has enough slope (a minimum of 1/8 inch per foot, ideally 1/4 inch) so water drains off rather than pooling in joints.
In warm, wet climates like the Gulf Coast or Pacific Northwest, freeze-thaw isn't the concern but water infiltration and biological growth are. Here, Type N mortar works fine, and the focus shifts to drainage slope, sealing, and controlling organic growth in the joints. Efflorescence (the white salt deposits that leach out of mortar) is also more common in consistently wet environments.
For high-traffic patios, pool surrounds, or any area that sees regular wet conditions, stick with Type S over Type N regardless of climate. The higher strength and better freeze-thaw resistance give you a larger safety margin. If the patio is lightly used and in a mild climate, Type N is perfectly adequate and easier to work with.
Drainage also affects whether you should mortar-set at all. A fully mortared flagstone patio on a concrete slab is essentially impermeable. That means all rainwater has to shed off the surface. If your site has poor drainage or the slope isn't right, water will sit on the patio and eventually find its way under the stones. If perfect drainage is hard to guarantee, a sand-set approach with permeable joints handles water better and is more forgiving of an imperfect site.
Preparing the base and setting flagstones with mortar
The base is what makes or breaks a mortared flagstone patio. Mortar itself has almost no ability to bridge a soft or unstable substrate. If the ground moves, the mortar cracks. Full stop. I've seen beautifully jointed patios turn into jigsaw puzzles in two years because the base wasn't done right. Do this part properly and everything else gets easier.
- Excavate to the required depth: typically 6 to 8 inches below the finished surface for a mortar-set patio. Account for 4 inches of compacted gravel base, a 4-inch concrete slab, and the mortar bed plus stone thickness (usually another 2 to 3 inches total).
- Compact the subgrade. Use a plate compactor on granular soils. If you hit soft, clay-heavy soil, consider adding 4 inches of compactable base material (crushed stone or road base) before the gravel layer.
- Pour and cure the concrete slab. The slab should be at least 3.5 inches thick for a residential patio. Let it cure fully (28 days is ideal, 7 days minimum) before setting stone on it.
- Clean the slab surface. Remove any curing compound, oil, or standing water. Lightly wet the slab before applying the mortar setting bed so the dry concrete doesn't pull water out of the mortar too fast.
- Set up string lines or grade stakes to mark your finished height. Measure down from those to determine your mortar bed thickness, which should be consistent (typically 3/4 inch to 1.5 inches for a thick-bed installation).
- Mix your Type S setting bed mortar to a stiff, damp consistency (see next section), trowel it onto the slab, and use a notched trowel or screed to level it.
- Press each flagstone firmly into the bed and tap with a rubber mallet to set it. Check for level and for hollow spots by tapping the stone surface with a knuckle or wooden handle. A dull thud means a hollow; rebed those stones.
- Leave joints open at this stage. Don't try to fill joints while setting stones or you'll push mortar up through the gaps as you tap.
A note on movement joints: if the patio is larger than about 8 feet in any direction, plan for at least one movement joint filled with a flexible sealant rather than rigid mortar. A practical rule of thumb from tile industry guidance is a 3/8-inch-wide movement joint every 8 feet or a 1/2-inch joint every 12 feet. For movement accommodation joints, TCNA Handbook Method EJ171 specifies minimum exterior movement joint widths, such as 3/8 inch for 8 ft on-center and 1/2 inch for 12 ft on-center. This lets the slab expand and contract without blowing out your flagstone joints.
Mixing and applying mortar: consistency, joint thickness, tooling, and curing
Getting the consistency right
Mortar consistency is one of those things that's hard to describe in writing but immediately obvious when you're holding a trowel. For a setting bed, you want a stiff damp mix: it holds its shape when squeezed in your fist and doesn't slump off a trowel, but it isn't dry and crumbly either. Think damp beach sand that clumps. For joint fill (pointing mortar), you want it slightly wetter and more paste-like so it flows into the joint without voids but isn't soupy.
Add water slowly. The most common mistake is adding too much water at once. Mix dry first, then add water in small amounts and mix thoroughly between additions. If you're using a bagged pre-blended mortar, follow the manufacturer's water-to-powder ratio on the bag as a starting point, then adjust by eye. If mortar stiffens while you're working because water evaporates (especially on a hot day), you can re-temper it by adding a small amount of water and remixing. If your setting-bed mortar starts stiffening due to evaporation, SPEC MIX recommends re-tempering it only when mixing water is lost, not by adding extra water arbitrarily re-temper it by adding a small amount of water and remixing. But do this only when stiffening is clearly from evaporation, and only within the first 30 to 60 minutes of mixing. After that, discard the batch and mix fresh.
Filling and tooling the joints
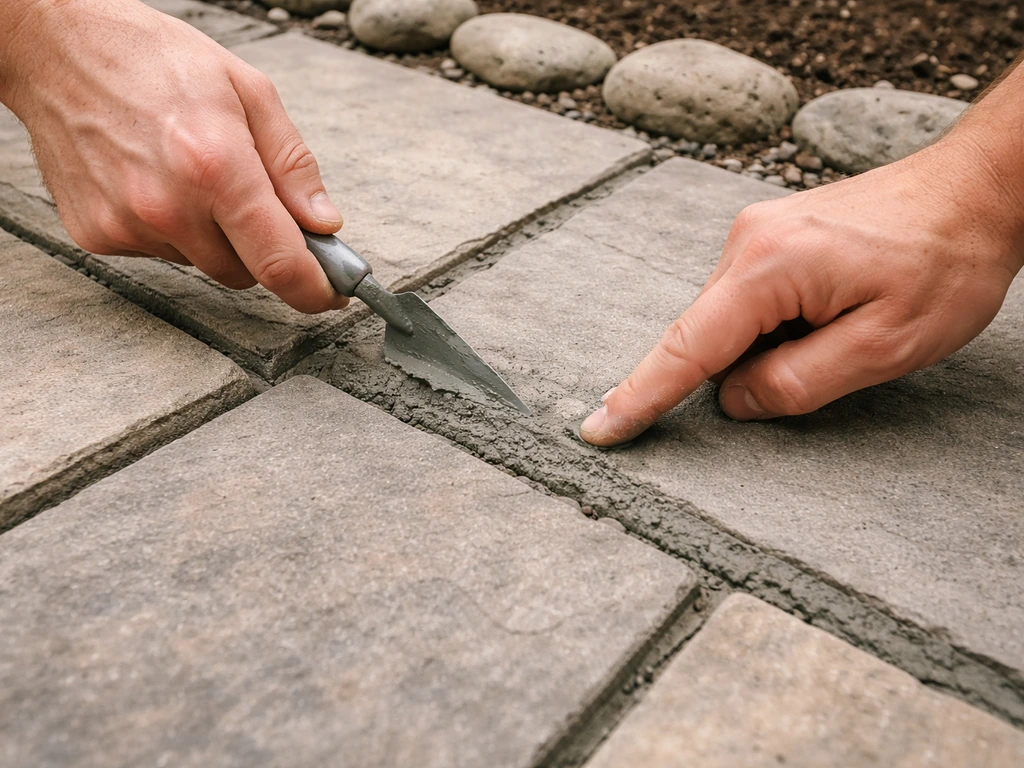
Wait at least 24 hours after setting the flagstones before filling the joints, so the setting bed has started to firm up and stones won't shift. Dampen the joints with a spray bottle before pointing to prevent the dry stone edges from sucking moisture out of the fresh mortar.
- Pack mortar into joints in layers if they're deeper than about 3/4 inch. Don't try to fill a deep joint in one pass or the mortar will shrink and crack as it cures.
- Use a pointing trowel or margin trowel to press mortar firmly into the joint with no voids. Work it from the bottom up.
- Tool the joint surface when the mortar is thumbprint-firm (it dents slightly when pressed but doesn't stick to your thumb). Use a jointing tool, the back of a spoon, or a short piece of copper pipe to slightly recess and smooth the joint. A slightly recessed joint sheds water better than a flush or crowned joint.
- Remove excess mortar from stone faces immediately using a stiff natural-bristle brush. Don't use metal brushes or abrasive pads on natural stone. The longer mortar sits on the stone surface, the harder it is to remove without staining.
- Keep the patio damp for 3 to 7 days while the mortar cures. Mist it morning and evening or cover it with burlap kept moist. Slow curing builds strength. Fast drying from sun and wind causes surface cracking.
Joint thickness and depth
For natural flagstone, joint widths typically range from 1/2 inch to 2 inches depending on the irregularity of the stone. Joints narrower than 3/8 inch are genuinely difficult to point well and more prone to cracking. Joints wider than 2 inches are better served by a richer mortar mix or even a separate fill approach. Whatever joint width you're working with, aim to fill to just below the stone surface (about 1/8 to 3/16 inch recessed) so the joint profile sheds water naturally.
Common problems and how to prevent or fix them
Cracking joints
Cracked mortar joints are the most common complaint, and they almost always trace back to one of three causes: a mix that was too rich in cement (too strong, too brittle), base movement from an inadequate or improperly compacted subbase, or missing movement joints on a large slab. If the cracks are hairline and random, the fix is to rake out the damaged joint material and repoint with a slightly softer mix (Type N or a lime-rich Type S). If the cracks follow straight lines across multiple stones, you likely have a base problem and repointing alone won't fix it permanently.
Mortar washout
If joints are washing out in rain, either the mortar wasn't packed densely enough (air voids allow water to undermine it) or the patio doesn't have adequate drainage slope and water is sitting and eroding the joints. Re-pointing with well-packed mortar and improving the slope or drainage around the patio perimeter fixes this. If you're on a sand-set base and mortar joints keep washing out, switching to polymeric sand is often a smarter long-term solution than repeatedly repointing.
Efflorescence
Efflorescence is the white, chalky deposit that appears on mortar joints and sometimes on the stone surface. It's caused by soluble salts leaching out of the mortar with moisture migration. It's especially common in new installations and in wet climates. The good news is that light efflorescence often disappears on its own as the patio dries out and the salts exhaust themselves over a season or two. For persistent efflorescence, you can remove it with a diluted masonry cleaner (following product directions carefully to avoid etching the stone), then seal the patio to reduce moisture infiltration going forward.
To prevent it from the start: keep bagged mortar stored off the ground and protected from rain before use, don't add excessive water to the mix, and make sure the patio has proper drainage slope so water isn't sitting on the joints long-term.
Hollow spots and debonding
A hollow-sounding stone means there's an air void under it in the setting bed. This happens when mortar wasn't spread or tamped thoroughly, when the stone was set on a mortar bed that had already started to skin over, or when the concrete slab wasn't pre-wetted and pulled moisture from the mortar too fast. Small hollow areas can sometimes be injected with a low-viscosity grout through a drilled hole, but realistically, badly hollow stones need to be lifted, the old mortar removed, and the stone reset on fresh material.
Maintenance and when to repoint or reseal
A well-built mortared flagstone patio needs very little maintenance in the first few years. Sweep it regularly to prevent organic debris from decomposing in the joints and holding moisture. Inspect joints each spring after freeze-thaw season for cracks, spalling, or missing material. Catching small problems early means a quick repointing repair rather than a wholesale joint replacement.
How to repoint failing joints
- Use a cold chisel and hammer (or an oscillating tool) to rake out cracked or loose mortar to a depth of at least 3/4 inch. Go deeper if the mortar is soft or crumbling further in.
- Brush out the joint with a stiff natural-bristle brush to remove dust and loose material.
- Wet the joint with clean water and allow it to reach a surface-dry (damp but not glistening) condition before applying new mortar. This prevents rapid moisture loss from the new mix.
- Pack new Type N or Type S pointing mortar into the joint in firm layers, tooling each layer before adding the next for deep joints.
- Tool to a slightly recessed profile and brush away excess immediately.
- Keep the repaired area damp for 3 days to allow proper curing.
Sealing: worth doing, but timing matters
Sealing a flagstone patio helps reduce water infiltration, limits efflorescence, and makes the surface easier to clean. But don't rush it. Let new mortar cure fully (at least 28 days) and let the patio dry out completely before applying any sealer. Sealing over fresh or damp mortar traps moisture inside and can cause the sealer to cloud or peel, and may even accelerate efflorescence by preventing the salts from escaping. If you've installed polymeric sand in a sand-set patio, the guidance from most manufacturers is to wait at least 30 days before cleaning and sealing. Reapply sealer every 2 to 5 years depending on the product and your climate. Heavy rain exposure and UV in southern climates break down sealers faster.
The base under your flagstone patio matters just as much as the mortar on top of it. A mortar joint is only as stable as what's underneath it. If you're still planning the base layer or deciding between sand-set and mortar-set approaches, those decisions tie directly into which joint filler method makes sense and how the whole system performs over time. If you're wondering where to buy flagstone for patio projects, focus on local masonry yards or landscape supply stores that stock the right thickness and size range for patios. The joint filler question also connects closely to whether mortar, grout, or polymeric sand is the right call for your specific stone pattern and gap size. For a quick comparison of your best options, see which joint filler works best for a flagstone patio based on your drainage and gap size joint filler question.
FAQ
What’s the best mortar for a flagstone patio if I’m not sure whether it’s mortar-set or sand-set?
If the stones are bonded to a concrete slab or poured subbase with a true bedding layer, use a Type S mortar system. If the stones sit on compacted gravel with bedding sand and joints are meant to be filled with sand products, you usually want polymeric jointing sand instead of mortar, because mortar can trap water and worsen movement on flexible bases.
Can I use Type S mortar for joint pointing even if I only planned to mortar the joints?
Yes, Type S works for pointing, but it’s typically overbuilt for narrow, movement-prone joints and can crack more visibly. For most projects where only joints are being pointed, Type N or a lime-rich pointing proportion is easier to tool and less brittle under micro-movement.
Do I need to use air-entrained mortar in a climate with occasional freezes?
You generally should if you experience repeated freeze-thaw, even if it’s “occasional.” A practical check is whether the patio sees multiple freeze events within a season. Air entrainment helps with freeze-thaw durability, but you still need proper slope to keep joints from staying wet.
How thick can the setting bed be when using Type S mortar?
Type S is intended for typical paving bed thicknesses, but it can’t compensate for a bad substrate. If you’re trying to build a very thick leveling bed, use a more controlled base preparation first, then keep the mortar bedding within reasonable paving-bed ranges to avoid shrinkage cracking.
What’s the easiest way to match the mortar to my flagstone thickness variations?
Use your stone layout to decide whether you need adjustment through the base or through the bed. If thickness varies a lot, level the system with the mortar-set base or sand bedding profile so mortar doesn’t become the main “filler” for large height differences, since mortar beds crack when they’re doing structural leveling.
Is polymer-modified thinset a substitute for mortar on a concrete slab?
It can be the correct substitute only when your stone bed thickness is under about 3/4 inch and the slab is flat and stable. If you need deeper build-up or you’re not directly bonding to a solid, cured, properly prepared slab, thinset is not a reliable replacement for a mortar-set paving build-up.
Can I re-temper mortar if it starts to stiffen?
You can only re-temper if stiffening is from evaporation and you’re still within about the first 30 to 60 minutes after mixing. If it has already taken on a cured or grainy texture that won’t remix smoothly, discard and remix, otherwise you’ll weaken the mortar.
How long should I wait before walking on a mortared flagstone patio?
At minimum, avoid disturbing the stones during the first day, and give the setting bed time to firm before applying joint work. For safe handling and best results, follow the cure expectations your product specifies, then plan to wait at least 24 hours before joint filling and longer before heavier use.
What if my joints are wider than 2 inches, can I still mortar them?
Wider joints are riskier with standard joint pointing because they can shrink and crack as they cure. For gaps over about 2 inches, consider richer mortar proportions or a separate fill strategy (for example, structured fill approaches) so the joint doesn’t rely entirely on thin mortar layers.
Why do my mortar joints look powdery or chalky soon after installation?
That can be early efflorescence or surface haze from moisture migration. Light efflorescence often fades as the patio dries over time, but if it keeps increasing, address persistent moisture infiltration and avoid sealing until mortar has fully cured and the surface is dry.
Should I seal polymeric sand joints right away?
Usually not. Most polymeric sand manufacturers recommend waiting at least 30 days before cleaning and sealing. Sealing too early can interfere with the sand’s activation and can trap moisture, which may cause clouding or performance issues.
What’s the best way to repair cracked mortar joints without worsening the problem?
Start by checking whether cracks follow expansion lines or run across multiple stones. Hairline random cracking can often be resolved by raking out and repointing with a slightly softer lime-rich mix, but cracks that track straight lines usually mean you need to correct base movement and add or restore movement joints, not only repointing.
How can I tell whether a hollow-sounding stone is a fixable air void or a full reset issue?
If the hollow sound is localized and the joint pattern is otherwise tight, a grout injection through a drilled hole can sometimes stabilize it. If the stone rocks, movement is noticeable, or the setting bed is extensively voided, it’s better to lift and reset because trapped voids typically reappear when the base continues to flex.