
For most flagstone patios, polymeric jointing sand is the best grout option. It handles wide irregular joints, drains well, resists weeds, and flexes with freeze/thaw cycles better than rigid cement-based grout. If your flagstone is mortar-set on a concrete slab with tight joints (under 1/4 inch), a sanded cement grout or a polymer-modified mortar is the better call.
Best Grout for Flagstone Patio: Choose and Install Right

Nolan Ellison
27 May 2026
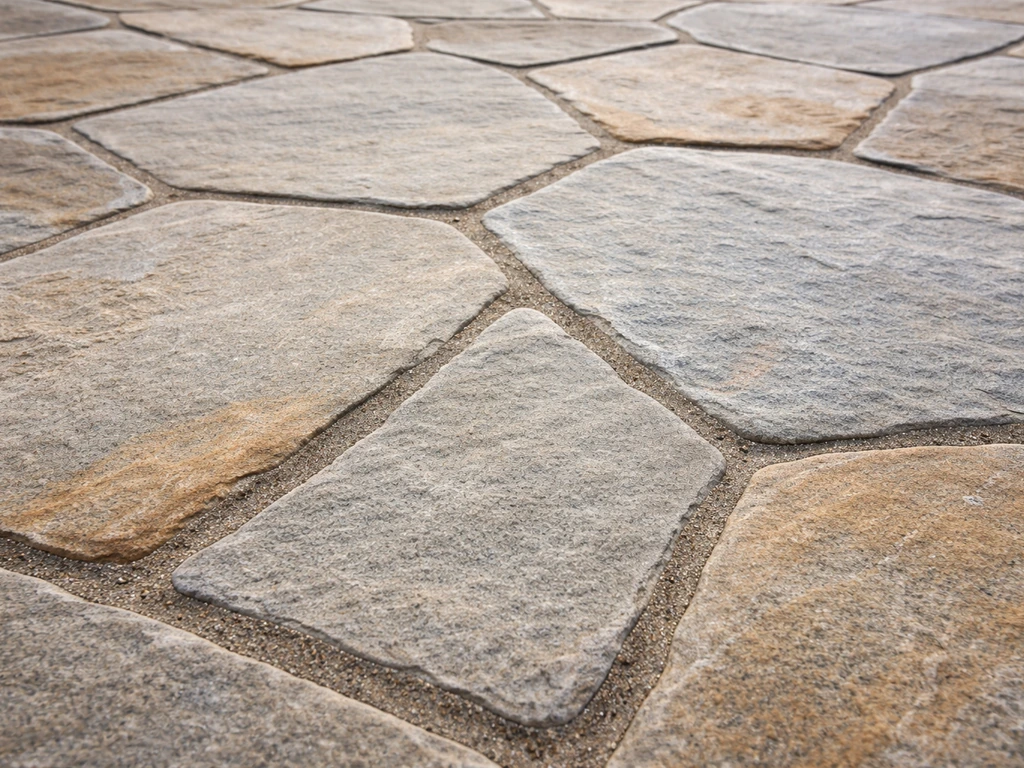
And if you have a high-traffic commercial-style install or a pool surround where staining is a real concern, epoxy grout earns its premium price. The right answer depends on three things: how your flagstone is set (dry vs. For a flagstone patio, the best filler is the one that matches whether your stone is dry-set or mortar-set and how wide the joints are best filler for flagstone patio.
mortar), how wide your joints are, and what climate you're dealing with.
What 'grout' actually means for a flagstone patio
When people search for 'flagstone patio grout,' they're usually talking about one of three different things, and mixing them up is where most projects go sideways. True tile grout (cement-based, fine-textured, sold in bags at any tile store) is designed for small, consistent joints between uniform tiles on a flat substrate. Flagstone is none of those things. The joints are irregular, often wide, and the stone itself moves seasonally. So the word 'grout' for flagstone is really shorthand for 'joint-filling system,' and that system needs to match how the stone is installed.
Dry-set flagstone is laid on compacted gravel or sand without mortar underneath. It needs a joint filler that can flex, drain, and be topped up over time. Mortar-set flagstone is adhered to a concrete slab with mortar and is much more rigid, meaning the joints can accept a stiffer material. Getting this wrong is the single biggest cause of cracked, crumbling, or weed-riddled joints within the first two winters.
Your main joint-filling options, with honest pros and cons
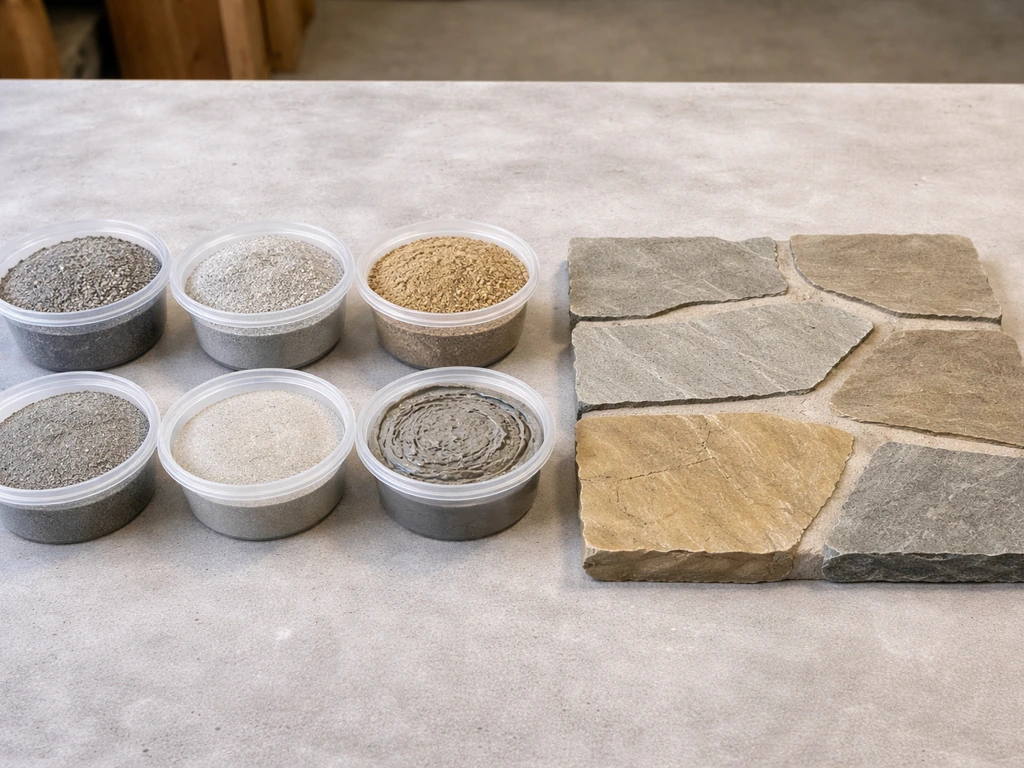
There are four realistic choices for flagstone patios. Here's how they actually perform in the field.
Polymeric jointing sand
This is the most popular option for dry-set flagstone and for good reason. Polymeric sand is a graded sand with polymer binders mixed in. You sweep it into the joints, compact it, then activate the binders with water. As it dries and cures, the binders lock the sand grains together into a firm but slightly flexible mass. Products like QUIKRETE HardScapes Polymeric Jointing Sand are rated for joints up to 2 inches wide, which covers almost any flagstone layout. Techniseal SMARTSAND works down to joints as narrow as 1/16 inch. Sakrete PermaSand requires a minimum joint width of 1/4 inch and needs to fill the full depth of the joint to perform correctly.
The flexibility is the key advantage in freeze/thaw climates. Rigid grout cracks when the ground heaves; polymeric sand just shifts slightly and holds together. It also dramatically reduces weed germination compared to plain sand or decomposed granite. The main failure modes are activation errors (too much or too little water, or activating while it's windy so it dries unevenly) and joint geometry problems (joints that are too shallow allow frost to pop the sand out in one frozen plug).
Cement-based sanded grout or mortar
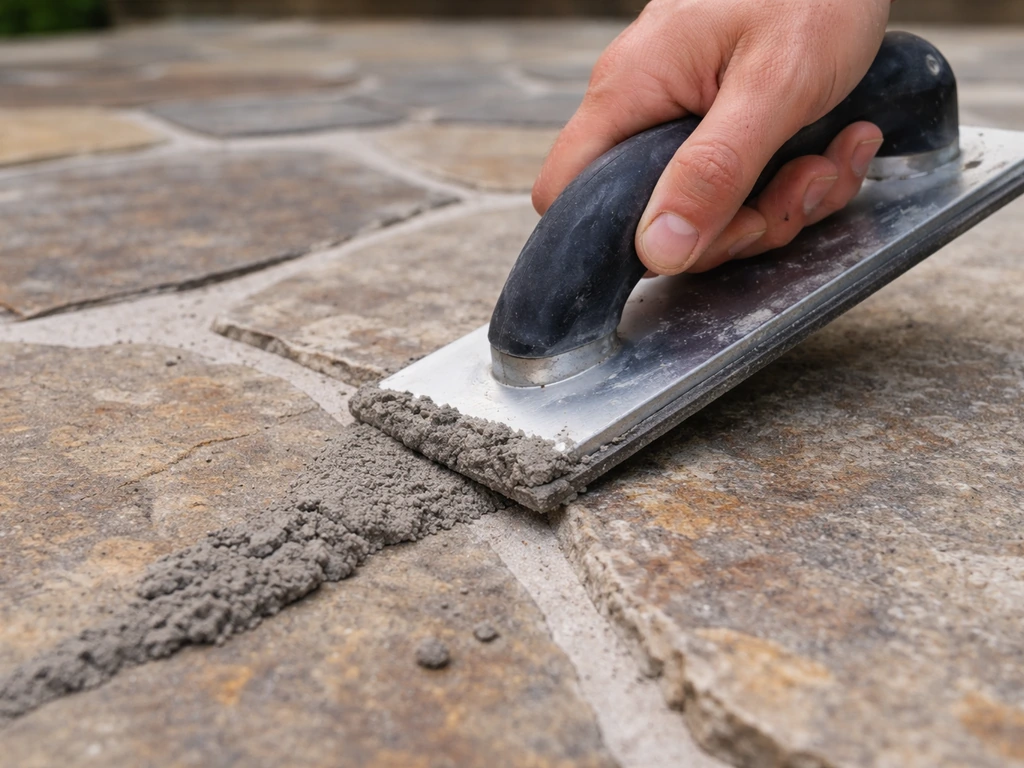
This is the classic choice for mortar-set flagstone on a concrete slab. Sanded cement grout (the kind used for large-format tile and stone) works well in joints from about 1/8 inch up to around 1/2 inch. For wider joints, a polymer-modified mortar or pointing mortar is stronger and more crack-resistant than standard grout. The polymer modification (a latex or acrylic additive either pre-blended or added at mixing) improves adhesion, reduces shrinkage cracking, and adds some flexibility. If you're using cement grout on flagstone, always use the sanded variety. Unsanded grout shrinks too much in joints wider than 1/8 inch and will crack within a season.
The downside of cement-based options on flagstone is that they're rigid. Flagstone on mortar set on a concrete slab is a fairly stable system, but any ground movement or temperature differential between the slab and the stone creates stress that usually shows up as hairline cracks in the grout first. In cold climates without proper slab drainage, water infiltrates those cracks, freezes, and widens them fast. Cement grout also stains porous stone like sandstone or limestone if you're not careful during cleanup.
Polymeric jointing mortar (resin-based)
This is a step up from standard polymeric sand and sits between sand-based and cement-based systems in performance. These are resin-based mortars (sometimes called brush-in mortars) where you work a semi-fluid material into the joints and the resin cures by atmospheric exposure, bonding the sand aggregate together. The bond is to the sand matrix itself rather than to the paver face, which means less risk of surface adhesion issues on rough or porous stone. They handle wider joints well and offer better durability than basic polymeric sand in high-traffic areas. The trade-off is cost: they run roughly two to three times the price of polymeric sand, and the application window is narrower.
Epoxy grout
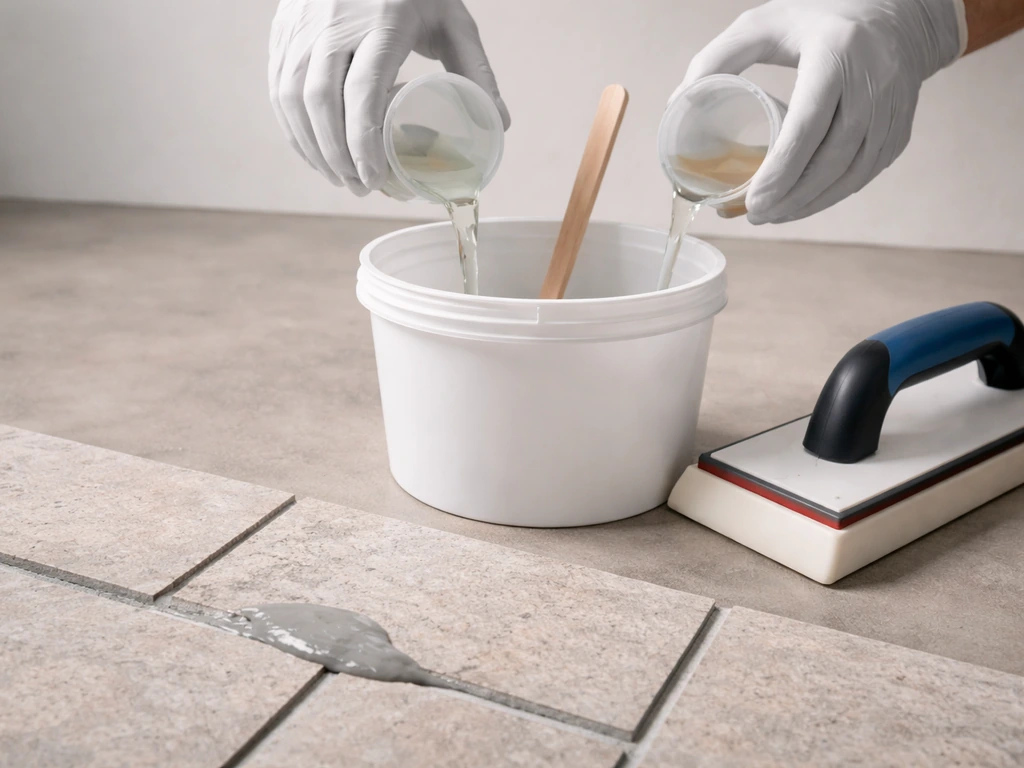
Epoxy grout is the highest-performance option and the most unforgiving to install. Products like LATICRETE SpectraLOCK PRO Premium are two-part systems where resin and hardener are mixed together. The result is nearly impervious to stains, chemicals, and moisture. For flagstone, epoxy grout makes the most sense on mortar-set patios with consistent joint widths, in areas with heavy foot traffic or food service exposure, and on pool surrounds.
If you want the best joint filler for a flagstone patio where staining and moisture resistance are top priorities, epoxy grout is the comparison option to consider next. The downsides are real: epoxy grout haze is difficult to remove (LATICRETE is clear that haze from improper cleanup is not a product defect, and fixing it after the fact is painful), it requires 10 full days of cure at 70°F before you can apply sealer, and it's expensive.
On a rough, irregular flagstone surface, cleanup is even more challenging than on smooth tile.
| Option | Best for | Joint width range | Freeze/thaw performance | DIY difficulty | Cost |
|---|---|---|---|---|---|
| Polymeric jointing sand | Dry-set flagstone, wide joints, cold climates | 1/16 in. to 2 in. | Excellent (flexible) | Easy | Low |
| Sanded cement grout | Mortar-set flagstone, tight joints | 1/8 in. to 1/2 in. | Moderate (can crack) | Moderate | Low |
| Polymer-modified mortar | Mortar-set, wide joints, high traffic | 1/4 in. to 1.5 in. | Good (reduced cracking) | Moderate | Medium |
| Polymeric jointing mortar (resin-based) | Dry or mortar-set, premium finish, heavy use | 1/4 in. to 1 in. | Very good | Moderate-High | High |
| Epoxy grout | Mortar-set, pool surrounds, commercial | Consistent joints, 1/8 in. to 1/2 in. | Good (rigid but stable) | Hard | Very High |
How to pick the right option for your situation
Start with your installation type
If your flagstone is dry-set (laid on compacted gravel and sand with no mortar), polymeric jointing sand is almost always the right answer. The flexibility matches the base, and the system allows water to drain down through the joints rather than pooling on top or wicking under the stone. Cement grout over a dry-set base is a common mistake. It will look great for six months and then crack as the stone shifts.
If your flagstone is mortar-set on a concrete slab, you have more options. Tight joints (under 1/4 inch) call for sanded cement grout. Joints between 1/4 inch and 3/4 inch work well with polymer-modified mortar. Very wide joints (over 3/4 inch) on a mortar-set application can use a polymeric jointing mortar or a coarse polymer-modified pointing mix. Avoid standard polymeric sand over a solid mortar-set application because the drainage path is blocked and water can become trapped, which is a freeze/thaw disaster.
Factor in your climate
In climates with hard winters and repeated freeze/thaw cycles, flexibility and drainage are the two things that keep joints alive. For dry-set patios in cold climates, polymeric sand wins outright. Make sure the joint depth is at least 1.5 inches (as required by products like Techniseal SMARTSAND) so there's enough material to resist frost heaving out a shallow plug. For mortar-set in cold climates, polymer-modified mortar outperforms standard sanded grout because the latex additive reduces shrinkage and micro-cracking where water can enter.
In wet climates with mild winters, drainage matters more than flexibility. Make sure any joint system you choose allows water to move through or off the surface rather than pool. Dry-set with polymeric sand handles this naturally. On mortar-set slabs, ensure the slab itself is pitched correctly (a minimum 1/8 inch per foot slope away from the house) before worrying about joint filler.
Factor in joint width
Flagstone joints are rarely uniform, and that's the core challenge. If your joints vary between 1/2 inch and 1.5 inches across the same patio (common with irregular flagstone), polymeric sand or a coarse polymeric jointing mortar is the only realistic choice. Cement grout applied to joints that wide will slump, shrink, and crack. Check the technical data sheet for any product you consider: Sakrete PermaSand requires a minimum of 1/4 inch. Techniseal SMARTSAND can go as narrow as 1/16 inch. QUIKRETE's polymeric sand handles up to 2 inches. Match the product to your actual joints, not the other way around.
How to install polymeric jointing sand (step by step)
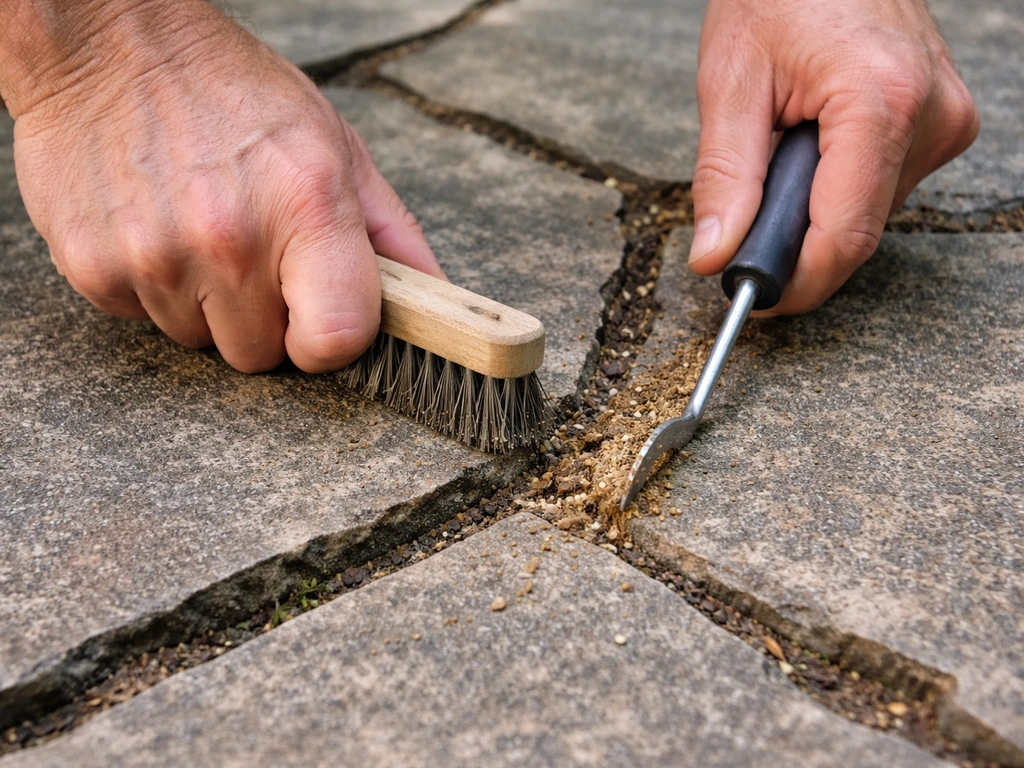
These steps apply to polymeric sand, which is the most common DIY installation. Cement grout and epoxy grout have their own mixing and application requirements, but the prep steps are largely the same.
Step 1: Surface and joint prep
Remove all existing joint material, weeds, debris, and standing water from the joints. Use a stiff brush, a pressure washer (carefully on soft stone), or a joint-cleaning tool. The stone surface must be completely dry before you start. Even slight surface moisture can cause polymeric sand to stick to the face of the stone and leave a haze that's hard to remove later. Check the weather: you need at least 24 to 48 hours of dry weather after installation, and you want to avoid temperatures below 32°F or above 90°F during application and initial cure.
Step 2: Fill the joints
Pour polymeric sand across the dry stone surface and sweep it into the joints with a stiff broom. Work in multiple passes, sweeping in different directions to ensure joints fill fully and without air pockets. Check your joint depth: most polymeric sands require the joint to be filled to within 1/8 inch of the top of the stone, leaving just a slight recess. Joints that are filled flush or overfilled tend to wash out; joints underfilled by more than 1/4 inch don't get enough binder material to hold.
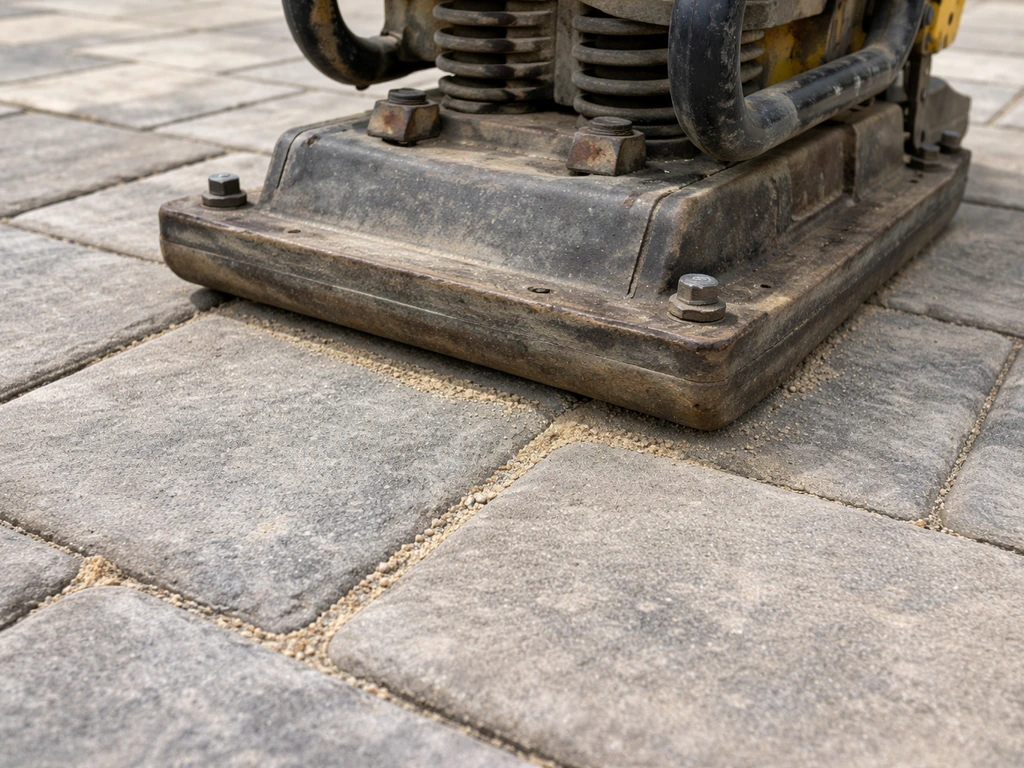
Step 3: Compact and sweep clean
After the joints are filled, use a plate compactor (on a large area) or a hand tamper to compact the sand down into the joints. This step is critical and often skipped on DIY projects. Compaction ensures the sand is dense enough for the binders to create a solid matrix. After compacting, add more sand to top up any joints that settled, compact again, then sweep the stone surface as clean as possible before activating with water. Any sand left on the stone face when you wet it will bond there.
Step 4: Activate with water
Use a gentle mist from a garden hose (not a pressure washer, not a hard stream). Wet the surface thoroughly enough to saturate the joints without washing the sand out. Most product instructions call for two to three passes, allowing the water to soak in between passes. Techniseal SMARTSAND, like most polymeric sands, blank" rel="noopener noreferrer">needs to dry completely to polymerize and achieve its rated performance. Do not apply water and then cover with a tarp or allow standing water to sit on top. Let it cure undisturbed.
Step 5: Curing and initial care
Keep foot traffic off the patio for at least 24 hours after activation. Most polymeric sands reach working strength within 24 to 72 hours depending on temperature and humidity. Full cure and maximum hardness typically takes about a week. Avoid power washing the joints for at least 30 days. If you plan to seal the flagstone after grouting (which is often a good idea for porous stone like sandstone or limestone), wait until the joint material is fully cured. For epoxy grout specifically, LATICRETE recommends waiting the full 10 days at 70°F before sealing.
Common grout failures and how to avoid them
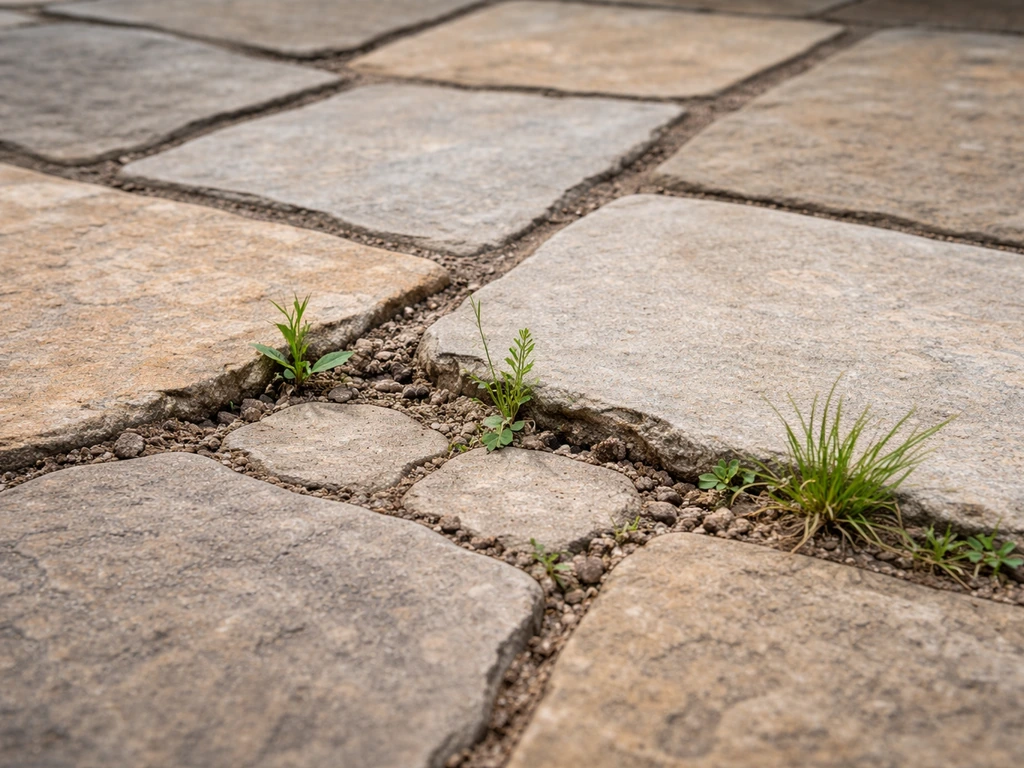
I've seen the same mistakes come up over and over, both in projects I've done and ones I've been called to diagnose after the fact. Most failures are avoidable with a little pre-planning.
- Using cement grout over a dry-set flagstone base: the base moves seasonally and the rigid grout cracks within one or two winters. Always match the joint filler flexibility to the base type.
- Activating polymeric sand in wet or windy conditions: wind dries the surface unevenly before the binders set, and rain washes the sand out of the joints before it cures. Check the forecast before you start.
- Underfilling joints before activation: shallow joint fill means the frost has less material to work against and can pop out a thin plug. Fill joints to the correct depth every time.
- Using the wrong product for your joint width: standard sanded grout in 1.5-inch joints shrinks and falls out. Polymeric sand in a 1/16-inch hairline joint may not compact properly. Read the TDS before you buy.
- Skipping compaction: uncompacted polymeric sand looks fine at first but washes out in the first heavy rain because the binders can't bond loose, airy material properly.
- Leaving sand on the stone face during water activation: this creates bonded haze that can be very difficult to remove, especially on textured or porous stone.
- Epoxy grout haze from improper cleanup: LATICRETE specifically notes that epoxy grout haze is not a product defect, it's the result of poor cleaning technique. Use a grout float at a 90-degree angle to remove excess promptly, and use the manufacturer's cleaning additive. On rough flagstone, epoxy haze removal is labor-intensive and sometimes impossible without acid treatment.
- Poor drainage on mortar-set slabs: no joint filler compensates for a slab that doesn't drain. Water pooling at the surface forces its way into even good grout joints, especially in freeze/thaw conditions.
Maintenance and fixing joints that are failing
Routine cleaning
For ongoing maintenance, sweep the patio regularly to remove debris before it decomposes in the joints and gives weeds something to root into. When washing the surface, use a garden hose or a low-pressure setting on a pressure washer. High-pressure washing directed into the joints erodes polymeric sand over time. For cement grout, avoid acidic cleaners (including vinegar) that etch the grout surface and accelerate deterioration. A pH-neutral stone and tile cleaner works for most flagstone surfaces.
Dealing with efflorescence
Efflorescence (the white powdery mineral deposits that appear on cement-based grout and stone surfaces) happens when water moves through the slab or joint material, dissolves soluble salts, and deposits them on the surface as it evaporates. It's mostly cosmetic but worth addressing. Dry-brush minor efflorescence off when the surface is dry. For heavier deposits, a diluted efflorescence cleaner (typically a mild acid solution sold for masonry) applied carefully and rinsed thoroughly will remove it. Fix the underlying drainage issue if efflorescence keeps coming back.
Re-sanding worn polymeric joints
Polymeric sand typically needs to be topped up every three to five years depending on traffic and climate exposure. The process is simple: remove any loose or degraded material, clean the joints thoroughly, let everything dry completely, sweep in new polymeric sand, compact, and re-activate with water. You do not need to remove all the old sand if the remaining base material is still solid. Just make sure the new product is compatible with whatever was used before (most standard polymeric sands are interchangeable).
Repairing cracked cement grout
For cement-based grout that has cracked, the first step is to remove all cracked and loose material with a grout saw, oscillating tool, or cold chisel. Grinding out just the surface of a crack and re-topping it is a short-term fix that will re-crack along the same line. Remove the grout to at least 2/3 of the joint depth, clean out the dust, dampen the joint slightly (not soaking wet), and apply fresh polymer-modified mortar or grout. Feather the edges flush with the existing surface and protect from foot traffic for 48 hours.
When joints are failing everywhere
If more than about 20 to 30 percent of your grout joints are cracked, crumbling, or showing widespread weed infiltration, it's usually worth doing a complete joint replacement rather than spot repairs. Piecemeal patching of failing joints creates an inconsistent surface that degrades unevenly and ends up looking worse than a fresh uniform treatment. A full re-sand or re-point is also the opportunity to switch to a better product if the original choice was mismatched to the install type.
Best for each situation: quick recommendations
Here's the direct summary. Pick the one that matches your situation and don't overthink it. If you're trying to choose the best mortar for a flagstone patio, start by matching the mortar or grout type to whether the stone is dry-set or mortar-set and to your joint widths and climate best mortar for flagstone patio.
| Situation | Best option | Product examples |
|---|---|---|
| Best overall for dry-set flagstone | Polymeric jointing sand | QUIKRETE HardScapes Polymeric Jointing Sand, Techniseal SMARTSAND |
| Best for freeze/thaw climates | Polymeric jointing sand (dry-set) or polymer-modified mortar (mortar-set) | Techniseal SMARTSAND, Sakrete PermaSand |
| Best for weed control | Polymeric jointing sand (properly activated and compacted) | Any quality polymeric sand brand |
| Best for wide irregular joints (over 3/4 in.) | Polymeric sand or resin-based polymeric jointing mortar | QUIKRETE Polymeric Jointing Sand (up to 2 in.) |
| Best for tight mortar-set joints (under 1/4 in.) | Sanded cement grout | Any polymer-modified sanded grout from a tile supplier |
| Best for low-maintenance | Polymeric jointing sand (dry-set) or epoxy grout (mortar-set) | Polymeric sand brands; LATICRETE SpectraLOCK PRO for epoxy |
| Best for high traffic or pool surrounds | Epoxy grout (mortar-set only) | LATICRETE SpectraLOCK PRO Premium |
| Best budget option | Polymeric jointing sand | Sakrete PermaSand, QUIKRETE Polymeric Jointing Sand |
What to check before you buy
Before purchasing any product, pull the technical data sheet (TDS) and confirm three things: the minimum and maximum joint width the product supports, whether it's compatible with natural stone (some products stain certain stone types), and the temperature and weather requirements for application. For polymeric sand, also confirm whether the product is rated for your joint geometry. Techniseal SMARTSAND, for example, requires a minimum joint depth of 1.5 inches for proper performance. Sakrete PermaSand specifies a minimum joint width of 1/4 inch. If your joints are shallower or narrower, choose a product with the right specs rather than assuming any polymeric sand will work.
Most big-box home improvement stores stock two or three polymeric sand options and basic sanded grout. If you want a quick answer to where to buy flagstone patio products, start by checking these big-box stores for polymeric sand and then look to a specialty supplier for epoxy or resin-based mortars Most big-box home improvement stores stock two or three polymeric sand options. For resin-based polymeric jointing mortars and epoxy grout, you'll typically need a specialty tile and stone supplier or order direct. If you're also evaluating the underlying mortar system for a new build or a re-lay project, the joint filler choice connects closely to what mortar was used to set the stone in the first place, so it's worth thinking about both together before committing to a system.
FAQ
Can I use polymeric sand on a mortar-set flagstone patio? (I already have a concrete slab underneath.)
Yes, but only when the joints and the stone movement are compatible. Polymeric sand is made to flex and drain, but if your flagstone is mortar-set on a slab and the drainage path is effectively blocked, polymeric sand can trap water in the joint and accelerate freeze/thaw damage. In that case, use sanded cement grout for tight joints, or polymer-modified mortar for wider joints, where appropriate.
How deep do flagstone joints need to be for the best grout results?
Look for the product’s required joint depth, not just joint width. Many polymeric sands need the joint filled down close to the top of the stone and often specify a minimum joint depth, for example 1.5 inches for some brands. If you underfill, you can get a loose “frost plug” that lifts out in winter.
Should I seal polymeric sand or grout right after it cures?
Only if the product specifically allows it. Polymeric sands usually require a full curing window with no heavy misting or pressure washing after activation, and excess moisture can trigger sticking to the stone face or uneven binder formation. If you want an anti-weed or stain plan, apply sealing only after full cure and only follow the grout manufacturer’s guidance.
What’s the best way to prevent epoxy grout haze on a rough flagstone surface?
Epoxy haze removal depends on timing and technique. The best chance is early cleaning with the exact cleaner/tools recommended by the epoxy brand, and you generally cannot rely on later “scrubbing” to fully fix it. On rough flagstone, haze tends to lodge in texture, so test a small hidden area first.
What should I do if rain or heavy dew hits shortly after installing polymeric sand?
The safest workaround is to wait for the next ideal weather window and protect the work area so it doesn’t get dew or puddled water. If joints are not cured, rain can wash binder and leave weak, sandy joints. Also avoid applying when it’s very hot or windy because activation can dry unevenly.
Why does standard “tile grout” fail on flagstone patios?
For most flagstone patios, the risk is using the wrong product for joint width and whether the base drains. Tile grout in particular is a common mistake, because it’s designed for uniform, small joints on rigid floors, it is not meant for irregular stone movement, and it tends to crack or crumble.
My joints look full before activation, but after curing there’s residue on the stone face. What went wrong?
It can be, especially if you have uneven joint heights or you didn’t compact properly. If the sand is left flush, overfilled, or dusty on the surface when you activate, it can smear and partially bond to the stone face. Repeated topping-up and careful sweeping before wetting helps prevent this.
Can I top up existing polymeric sand instead of removing all of it? Can I mix brands?
Do a compatibility check first: some products are formulated to bond only to their own type of joint filler. Most standard polymeric sands are designed to be topped up, but mixing different chemistry can reduce long-term performance. When in doubt, remove loose material and confirm the new product is explicitly compatible with the old system.
When should I spot-repair failed grout joints versus do a full re-point or re-sand?
If only a few joints fail, spot repair can work if you remove the compromised material fully and replace with the correct system. But if many joints show cracking, crumbling, or widespread weeds across the patio, consistent replacement is usually more reliable because the underlying drainage, joint depth, or product mismatch affects multiple areas.
In a wet climate, what matters more, grout choice or patio drainage?
For wet climates, focus on how water gets out. On dry-set systems, polymeric sand generally allows water to move through the joints, but on mortar-set slabs you must ensure the slab is pitched correctly and that you’re using a joint filler matched to the joint width. If the slab drains poorly, even the “best grout” can keep re-exposing cracks and efflorescence.