
The best interlocking patio tile system for most homeowners is a capped composite or high-density plastic tile set over a firm, flat concrete or compacted base. If you want interlocking patio tiles reviews, focus on how the brand handles base prep, locking stability, and long-term weather performance. These are fast to install, genuinely DIY-friendly, and hold up well in most climates without mortar or special tools.
Best Interlocking Patio Tiles: Buyer Guide and Install Steps

Nolan Ellison
27 May 2026
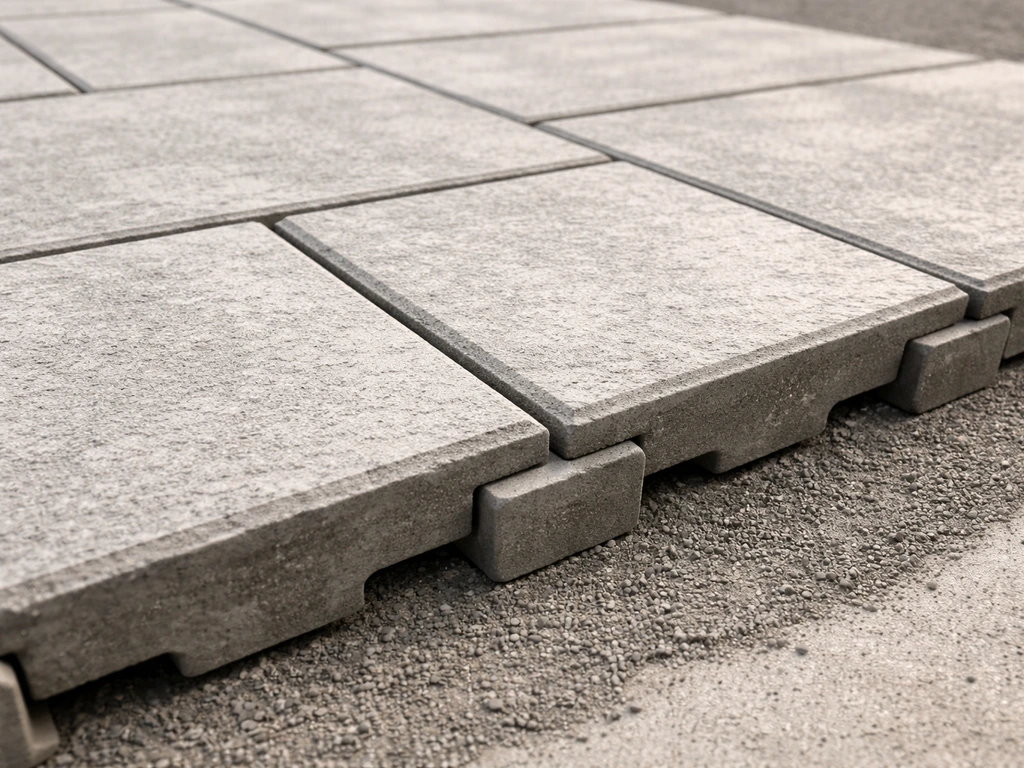
That said, the 'best' option really does shift depending on where you live, what your sub-base looks like, and how hard you plan to use the space. Rubber deck tiles are better for rooftop balconies and pool surrounds. Outdoor porcelain interlocking systems are best when you want a premium, stone-like finish and you're willing to do the prep work properly.
If you want the best tile for outdoor patios overall, focus on a capped composite for flexibility and value, or choose porcelain when you want a more premium stone-like finish Outdoor porcelain interlocking systems. The sections below break all of this down so you can pick the right system and install it without the headaches.
What interlocking patio tiles actually are
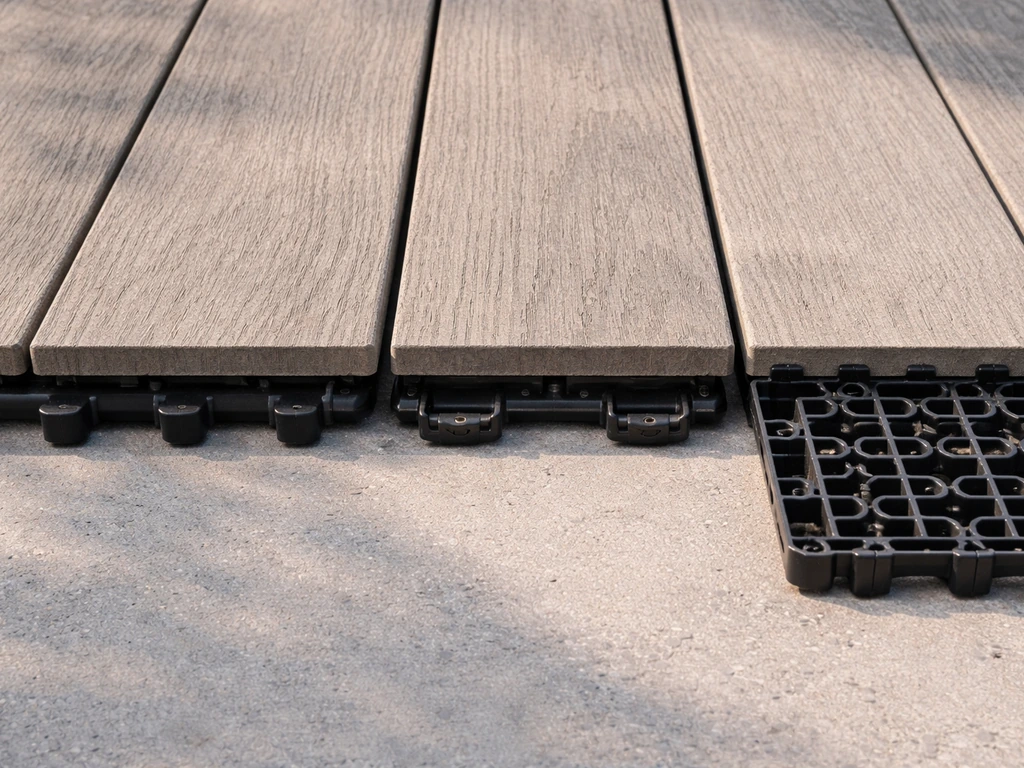
Interlocking patio tiles are modular surface units that connect to each other using built-in tabs, clips, or locking base grids rather than mortar and grout. You set them down, snap them together, and end up with a floating surface that can be picked up and reconfigured if needed. That floating nature is what makes them popular for renters, balconies, and anyone who wants a patio upgrade without a permanent commitment.
There are four main types worth knowing about, and they behave quite differently from each other:
- Capped composite deck tiles: Wood-plastic composite boards (like NewTechWood's UltraShield Naturale Quick Deck) mounted on a rigid plastic base that snaps together. They look like real wood and are the most popular choice for residential patios and porches.
- Rubber interlocking tiles: Dense rubber squares (sometimes 3/4 inch to 1 inch thick) used primarily around pools, gyms, and balconies. They offer excellent cushioning and slip resistance but aren't the most decorative option.
- Hard plastic or polypropylene deck tiles: Lightweight grid-style tiles, sometimes with a slatted surface, that work well for covered balconies or low-traffic spaces. Budget-friendly but can look utilitarian.
- Porcelain or ceramic interlocking tile systems: Full porcelain pavers (typically 24x24 inches or 12x24 inches) mounted on a rigid support base with locking edges and uniform spacers. Systems like Flex-Lock's Gator Tile System take this approach, creating a pedestrian-grade surface suitable for patios, pool decks, and walkways with a stated 5-year limited warranty.
The composite and rubber systems are what most people are picturing when they search for interlocking patio tiles. The porcelain systems occupy a different price and performance tier, closer to a permanent tile installation in terms of look and feel, but still installed as a floating system rather than a bonded one.
How to pick the right system for your specific patio
Before you buy anything, answer these four questions about your situation. They will narrow your options down fast.
What's underneath the tile?
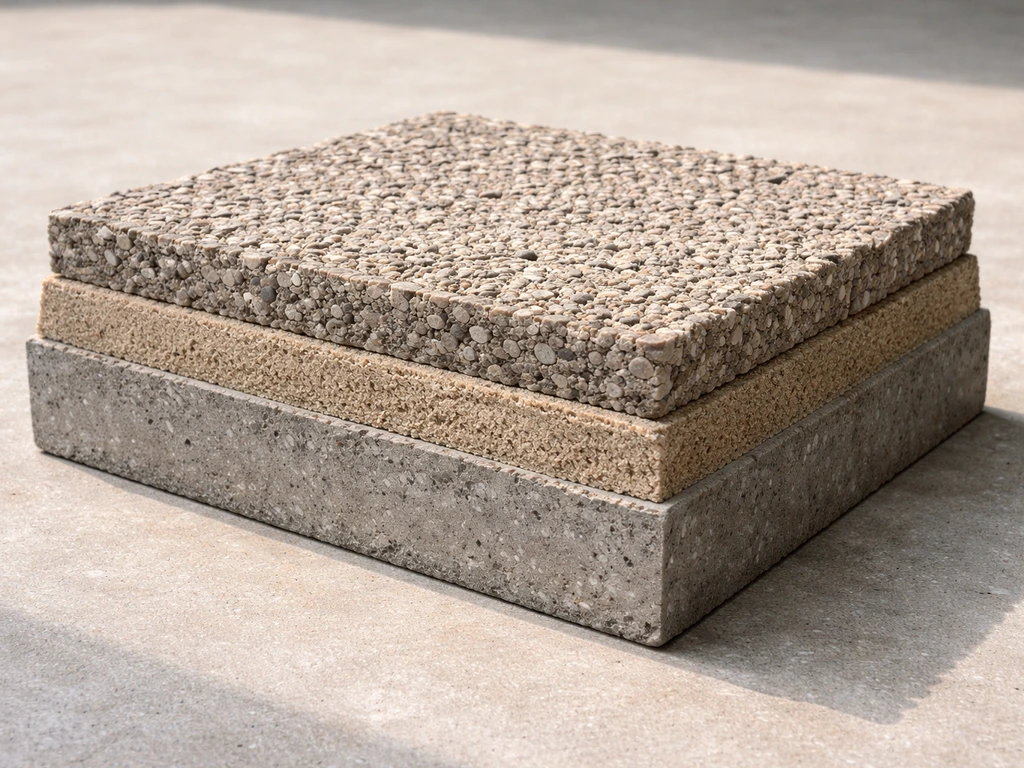
This is the single biggest factor. Every interlocking tile type (composite, rubber, plastic, and porcelain) performs best over an existing hard, flat surface such as concrete, pavers, or hard-packed road base. Products like DECKO tiles explicitly state they are not intended for soft or unstable substrates like bare lawn or loose soil, and the same guidance appears in most manufacturer installation guides. If you're working with bare dirt or grass, you'll need to build a compacted base first, or look at a different paving approach entirely.
What climate do you live in?
Freeze-thaw cycles are the enemy of most floating tile systems. Water gets under the tiles, freezes, expands, and lifts them. Capped composite tiles handle freeze-thaw reasonably well because they're designed to flex slightly and have drainage gaps built into the base. Porcelain tiles in a floating system can also handle cold climates, but only if you've got proper drainage so water isn't pooling under them. Pure plastic tiles can become brittle in sustained very cold temperatures. In high-heat climates, make sure your composite or plastic tiles have UV-stable capping; cheaper uncapped options fade and warp within a season or two in direct sun.
How much foot traffic will the space see?
For a light-use balcony or a decorative patio where you put chairs and a table, almost any system works. For a patio table top, choose tiles rated for outdoor use and make sure the base is flat so the surface stays stable under chairs and furniture. For heavy daily traffic, a busy pool deck, or a surface that chairs and furniture scrape across constantly, you want capped composite or porcelain. Thin plastic slat tiles will flex noticeably under concentrated loads and can crack at the connection points over time. Rubber tiles handle impact and scraping well but show wear patterns in high-traffic spots.
What's your budget and how permanent do you want this to be?
Plastic and rubber tiles run roughly $2 to $5 per square foot at the low end. Capped composite deck tiles typically run $4 to $10 per square foot depending on the brand and finish quality. Porcelain interlocking systems, including the support base and edging, can run $15 to $25 or more per square foot once you factor in the tile itself and the locking base components. If you're renting or want the option to take the tiles with you when you move, composite or rubber wins. If you want something that looks like a high-end tile patio and you're not moving anytime soon, the porcelain route is worth the extra cost.
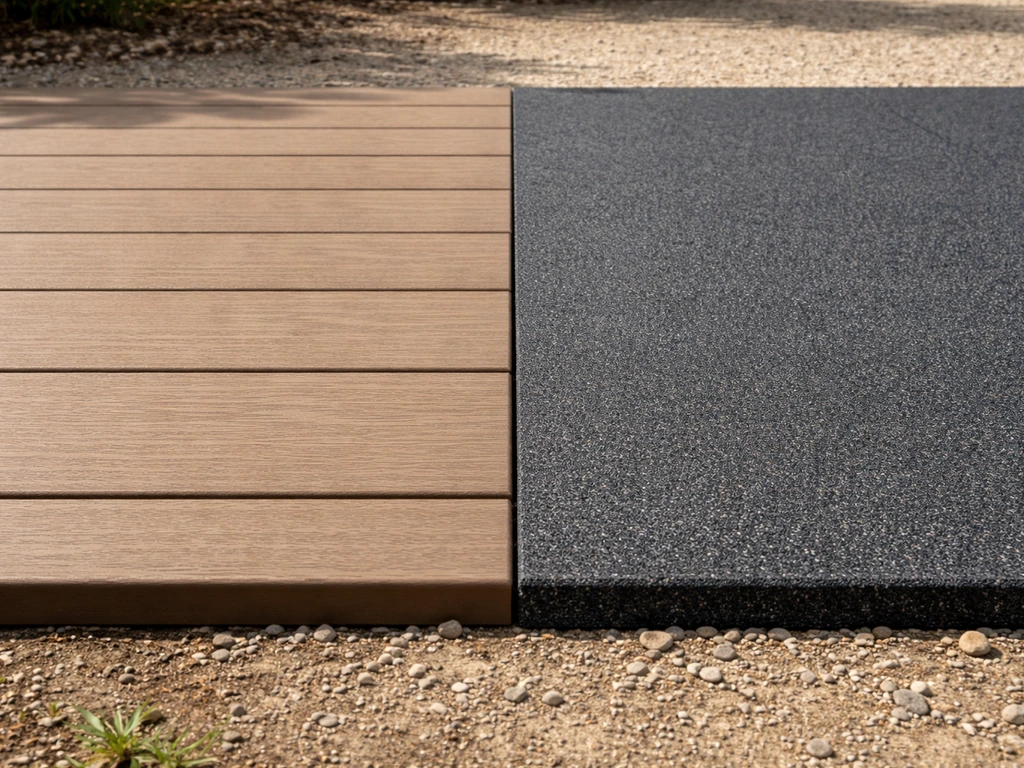
Comparing the four main materials head to head
| Material | Best for | Durability | Looks | DIY-friendliness | Approx. cost/sq ft | Freeze-thaw OK? |
|---|---|---|---|---|---|---|
| Capped composite | Most residential patios, porches, decks | High (15-25 yr range) | Natural wood look | Very easy | $4-$10 | Yes, if well-drained |
| Rubber | Pool decks, balconies, gyms | High (10-20 yr range) | Functional, limited colors | Very easy | $2-$6 | Yes |
| Hard plastic/polypropylene | Covered balconies, light use | Moderate (5-10 yr range) | Basic, slatted | Very easy | $2-$5 | Can become brittle |
| Porcelain interlocking system | Premium patios, pool surrounds, high traffic | Very high (25+ yr) | Stone/tile look | Moderate (prep-intensive) | $15-$25+ | Yes, with drainage |
Composite tiles: the practical everyday choice
Capped composite tiles like NewTechWood's UltraShield line are my go-to recommendation for most homeowners doing a patio or porch upgrade. With that in mind, the best tiles for patio projects usually come down to a capped composite or porcelain system that fits your base and climate needs. The capping layer protects the wood-plastic core from moisture, UV, and staining, and the snap-together base makes installation genuinely straightforward.
NewTechWood markets its interlocking capped-composite deck tiles, including UltraShield Naturale Quick Deck, as a floating snap-together deck tile surface for outdoor areas like decks and patios UltraShield Naturale Quick Deck deck tiles marketed for outdoor decks and patios. They look good, feel solid underfoot, and hold up through seasonal temperature swings without buckling.
The trade-off is cost: the better composite systems aren't cheap, and the quality gap between budget composite and premium capped composite is large enough that I'd skip the cheap stuff entirely.
Rubber tiles: the underrated performer
Rubber tiles don't get enough credit for residential use. They're extremely slip-resistant when wet, they absorb impact, and they're essentially maintenance-free. The downside is that the standard look (uniform dark gray or brown squares) doesn't appeal to everyone, and they can get warm in direct afternoon sun. If your patio doubles as a play area or you have a pool, rubber is worth a serious look.
Porcelain interlocking systems: when you want the premium look
Porcelain pavers are genuinely beautiful and extremely durable, but the interlocking support systems that make them float-installable add complexity and cost. Systems like Flex-Lock's Gator Tile System use a rigid base with spacers and locking edges to keep everything uniform and stable. The result looks like a mortar-set tile job, but it's a floating system. This is a great option if you have an existing concrete slab in decent condition and want to transform the look without demolition. If you're comparing options for your outdoor patio surface more broadly, it's worth weighing these against other outdoor tile systems to understand where the interlocking approach saves time versus where a bonded system would outperform it long-term.
Getting the base right before you touch a single tile
I've seen more interlocking tile projects fail because of bad base prep than any other reason. Tiles lift, rock, or separate at the joints because the surface underneath shifted, wasn't flat enough, or let water pool. Spending an extra hour on base prep is almost always worth it.
Flatness tolerance
Aim for no more than 3/16 inch variation over a 10-foot span. Most interlocking tile systems can bridge minor irregularities, but anything beyond that and you'll feel tiles rocking underfoot. On a concrete slab, fill low spots with a self-leveling compound before installing. On a compacted gravel or road base, take the time to check with a long level or a screed board and correct before you set a single tile.
Drainage planning
Most floating interlocking systems have drainage gaps built into the base, but those gaps only work if water has somewhere to go once it passes through. If you're installing over concrete, make sure the slab has at least a 1/8 inch per foot slope away from the house. If water is going to pool at the edges, it will eventually work its way back under the tiles and cause lifting, especially in freeze-thaw conditions. Installing a simple perimeter drain or ensuring the outer edge is lower than the field of the slab will go a long way.
Weed control under the tiles
If your base is compacted gravel or road base over soil, lay a quality landscape fabric before any base material goes down. Weeds growing up through the drainage gaps of your tiles are a miserable problem to fix after the fact. If you're installing over concrete, weeds aren't a realistic concern, but moss and algae can grow in the gaps in shady, damp spots. A pre-treatment of the concrete with a diluted bleach wash before installation helps reduce this.
Building a base from scratch
If you don't have an existing hard surface, you need to build one. For composite or rubber tiles, compact road base (also called crushed aggregate or Class II base) to a depth of 4 to 6 inches will work, provided you compact it thoroughly with a plate compactor. DECKO's installation guide specifically calls out hard-packed road base as an acceptable substrate. Loose gravel, soft soil, or grass are not acceptable bases for any interlocking tile system. For a porcelain interlocking system, I'd strongly recommend starting with an actual concrete slab, since the weight and stiffness of porcelain requires a truly rigid, non-shifting base to prevent cracking.
Installing interlocking patio tiles: a step-by-step walkthrough
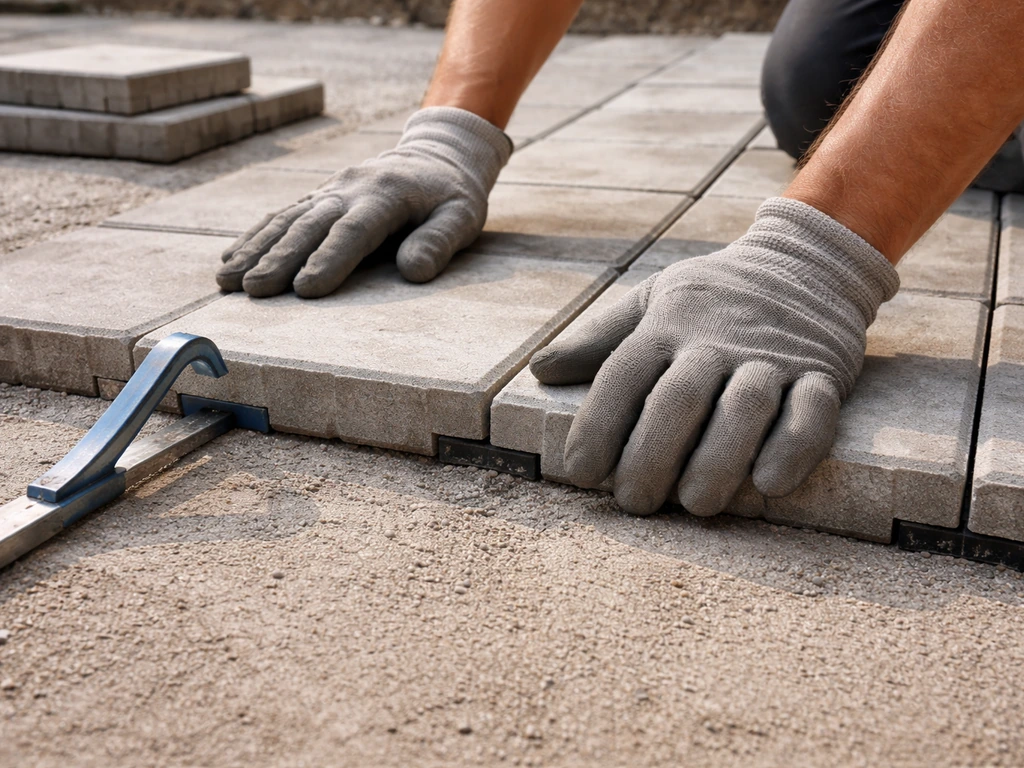
The installation process is genuinely one of the easier DIY jobs in the patio world, but a few specific steps trip people up. Here's how to do it right from start to finish.
- Clean and inspect your base surface. Sweep it, check for cracks or low spots, fill any voids, and confirm drainage slope. Don't skip this even if the surface looks fine.
- Dry-lay your first row without locking anything. This lets you plan your layout, figure out where cuts will fall, and confirm your starting edge is square to the space.
- Start from the most visible corner, typically the corner closest to the house or the entry point to the patio. Work outward toward the edges that will be cut or trimmed.
- Snap or click tiles together using the hidden connecting tabs on the underside. Most systems have a male-female tab system: press the tab edge of one tile firmly down onto the receiving edge of the adjacent tile until you feel or hear a click. If tiles aren't clicking cleanly, check that the base underneath both tiles is level with each other.
- Check alignment every three to four rows with a straight edge. A small offset in row two becomes a visible curve by row six. It's much easier to correct early.
- Cut perimeter and obstacle tiles with a circular saw or miter saw with a fine-tooth blade for composite, a jigsaw for rubber, and a wet tile saw for porcelain. For cuts around posts or other round obstacles, use a jigsaw or an angle grinder with a diamond blade (for porcelain). Always wear eye protection when cutting.
- For composite and plastic tiles, leave a 1/4 inch gap at walls and fixed structures to allow for thermal expansion. Most manufacturers build small gaps into the tile joints already, so you don't need to add extra spacing between tiles themselves.
- Install edge trim pieces or border tiles around the perimeter to cover the cut edges and prevent the tiles from sliding laterally over time. Some systems include dedicated edge pieces; others require a separate T-molding or aluminum edge trim.
- Do a final walk over the entire surface and press down any tiles that feel slightly raised at the connection point. If a tile won't stay flat, the base under it is slightly high and needs a minor correction before you lock it in.
A common mistake worth calling out
I once watched someone install a full 300-square-foot composite tile patio without checking alignment until they were on the final row. By that point the pattern had drifted enough that the last row was a full tile width off from where it needed to end. They had to pull up and re-do about a third of the installation. Check your lines early and often. A chalk line across the field every 8 to 10 rows takes five minutes and saves hours.
Keeping your tiles in good shape long-term
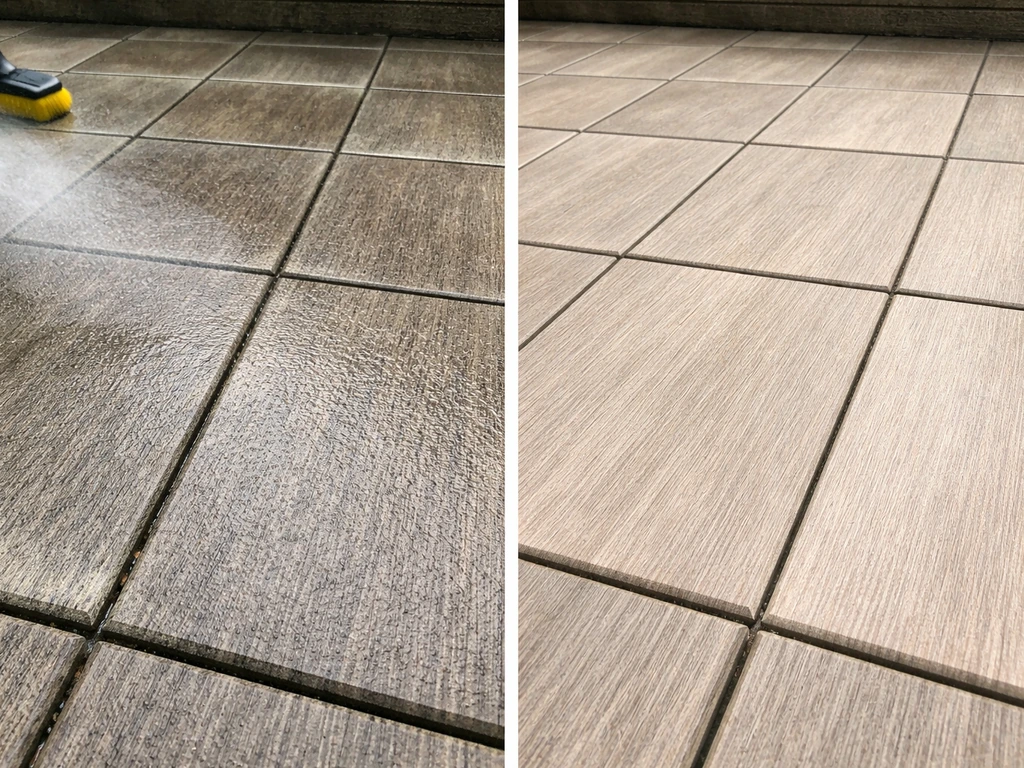
Routine cleaning
Composite tiles need very little: a rinse with a garden hose and occasional scrubbing with a soft brush and mild soap. Avoid pressure washing composite at high pressure directly into the grain direction, as it can raise the wood-fiber surface slightly over time. Rubber tiles can handle a pressure washer without issue. For porcelain, use the same approach as any outdoor tile: periodic washing with a neutral-pH cleaner, and a diluted bleach solution for any moss or algae buildup in shaded areas. Keeping the drainage gaps clear of debris (leaves, grit) is worth doing every fall to prevent clogging and water retention under the tiles.
Fixing tiles that lift or shift
If individual tiles start lifting at the corners or edges, the cause is almost always one of three things: the base has settled or shifted in that spot, water got underneath and froze (in cold climates), or the connection tab broke. The fix is straightforward for floating systems: lift the affected tile and the ones connected to it, inspect the base, correct the underlying issue, and re-snap everything back down. This is one of the genuine advantages of a floating interlocking system over a mortar-set installation. You can make targeted repairs in under an hour without any demolition.
Replacing damaged sections
Because interlocking systems don't use mortar, a cracked or badly stained tile can be swapped out without disturbing the rest of the installation. Start from the nearest edge, un-snap tiles back to the damaged one, swap it, and re-lock everything. This is much easier to do while you still have extra tiles from the original installation, so always order 10 to 15 percent extra and store a few boxes in a dry location.
Dye lots and product lines change, and matching a tile from a purchase made three years ago isn't always possible. If you are dealing with a damaged faux stone tabletop or want to swap to a closer match, plan on choosing a replacement top that fits your table frame and matches the right mounting method.
How long do they actually last?
Honestly, a lot depends on install quality and base prep more than the tiles themselves. Capped composite tiles from reputable manufacturers are built to last 15 to 25 years with normal use. Rubber tiles, especially recycled-rubber products used in commercial settings, routinely last 10 to 20 years. Basic plastic tiles have a shorter lifespan and can become brittle and crack in cold climates after 5 to 10 years.
Porcelain itself essentially doesn't wear out, so the longevity of a porcelain interlocking system depends on the support base components, which quality systems like the Gator Tile System back with a 5-year limited warranty on the system (not just the tile). Keeping the base stable and drainage clear is what makes or breaks long-term performance for any of these systems.
Slip resistance over time
This is a legitimate long-term concern, especially for shaded patios that get damp or develop algae. Rubber tiles maintain their grip well. Composite tiles with a textured or brushed surface also hold up, though smooth composite profiles can get slippery when wet. Porcelain tiles vary: look for a product with a coefficient of friction (COF) rating of 0.
60 or higher for outdoor wet use. Cleaning algae and moss off regularly is the single most effective maintenance step for keeping any outdoor tile surface slip-safe. If you're specifically prioritizing non-slip performance, it's worth looking at tile options specifically rated and tested for outdoor wet traction.
If you want the best tile for an outdoor patio that stays non slip when wet, look for products rated for outdoor wet traction and textured finishes best tile for outdoor patio non slip.
FAQ
Can I install best interlocking patio tiles over an old patio surface that is still in good shape?
Often yes, but only if the existing surface is firm, flat, and drains properly. Composite and plastic systems are happiest over concrete or pavers that do not rock. If the surface has heaved sections, loose pavers, or standing water, you must correct it first, because interlocking tiles will mirror those problems and can lift at edges during freeze-thaw or heavy rain.
What slope should I target when installing over concrete so water does not pool under the tiles?
A common target is at least about 1/8 inch per foot away from the house. If the concrete is nearly level, consider improving drainage with grading or a perimeter drain before you install, because built-in drainage gaps in the tile base can only help when water has somewhere to go.
Do I need expansion gaps around the perimeter or between tile runs?
Yes. Leave the manufacturer-recommended gap at edges and transitions, especially for composite in hot climates where boards can expand. Skipping perimeter spacing can cause buckling or make it harder to snap rows together later if the base shifts slightly.
How do I stop weeds from growing through the gaps if I’m installing on a compacted base?
Use landscape fabric over soil before you place road base, then keep the surface perimeter sealed where appropriate (for example, around posts or along a border). Interlocking tiles are floating and do not create a mortar barrier, so weed control depends heavily on that underlayment and proper base compaction.
Are interlocking patio tiles safe for people with mobility issues, like wheelchairs or mobility scooters?
They can be, but you should verify two things: the system’s overall height changes and the surface texture. Floating tiles can settle if the base is inconsistent, which creates a lip. For wheels, choose a system rated for outdoor traffic and inspect for any rocking after installation, then re-check after a few weeks.
Will composite tiles be slippery when wet, and how can I choose better traction?
Some smooth-capped composite can get slick, especially in algae-prone shade. Choose textured or brushed finishes, and if the product provides a wet traction rating, prioritize outdoor wet testing rather than only dry appearance. Regular algae removal is usually the biggest factor in keeping slip risk low.
Can I use pressure washing on interlocking tiles without damaging them?
It depends on the material. Composite often tolerates gentle rinsing and soft-brush cleaning, while high-pressure washing directed into seams can raise fibers over time. Porcelain generally handles pressure washing, but use a neutral-pH cleaner and avoid concentrating blasting at groutless joints where debris can compact.
What should I do if tiles start rocking after a season?
First identify whether the base shifted, if water is pooling, or if a locking tab or spacer broke. For floating systems, you can lift the affected tiles and adjacent connections, re-level or re-compact the base spot, clear any trapped debris, and re-snap. If multiple areas rock, you likely have broader base flatness issues, and localized fixes may not hold.
Is ordering extra tiles really necessary, and how much should I keep on hand?
Yes, because dye lots and even small format differences can make future matches hard. Plan on ordering roughly 10 to 15 percent extra and store spare boxes dry. Interlocking systems make swapping feasible, but you still need the right tile dimensions and locking compatibility to avoid mismatched edges.
Can I remove and reconfigure interlocking patio tiles later?
You can, because the system is floating, but it works best if the original base remains stable and flat. Reconfiguration may require lifting and re-leveling the underlying base, and you should avoid reusing damaged locking tabs. If you change the layout, also verify the drainage path so water does not end up trapped in low spots.
What is the safest way to deal with frost problems if I live in a freeze-thaw climate?
Prioritize drainage and base rigidity, then confirm there are no low areas where water pools. If water can get underneath and freeze, tiles can lift even with composite caps. Consider adding perimeter drainage or improving surface grading, then keep debris from blocking the base drainage gaps.
How do I choose between composite and porcelain if my patio gets heavy foot traffic or furniture scraping?
For high daily traffic and frequent dragging from chairs or patio furniture, capped composite or porcelain usually performs better than basic plastic. If you want a more stone-like finish and are willing to invest in a truly rigid base, porcelain is a strong option. If you need more flexibility and generally easier resilience to small base tolerances, capped composite is often the better fit.