
For most outdoor slate patios, a penetrating impregnating sealer is the best choice. It soaks into the stone, repels water and oil from below the surface, lets the slate breathe, and holds up through freeze-thaw cycles without peeling or hazing. If you want a richer, darker color, look for a penetrating sealer labeled 'color-enhancing' or 'wet-look impregnator.' If you just want invisible protection with no finish change, use a water-based penetrating sealer with a natural or matte finish. Topical/coating sealers can work on covered or interior slate, but outdoors they tend to trap moisture, peel, and turn slippery over time. For exterior performance, both penetrating and topical sealer types need attributes like freeze-thaw stability, breathability, slip resistance, and UV stability, so choose accordingly Topical/coating sealers can work on covered or interior slate.
Best Slate Patio Sealer: How to Choose and Apply Safely

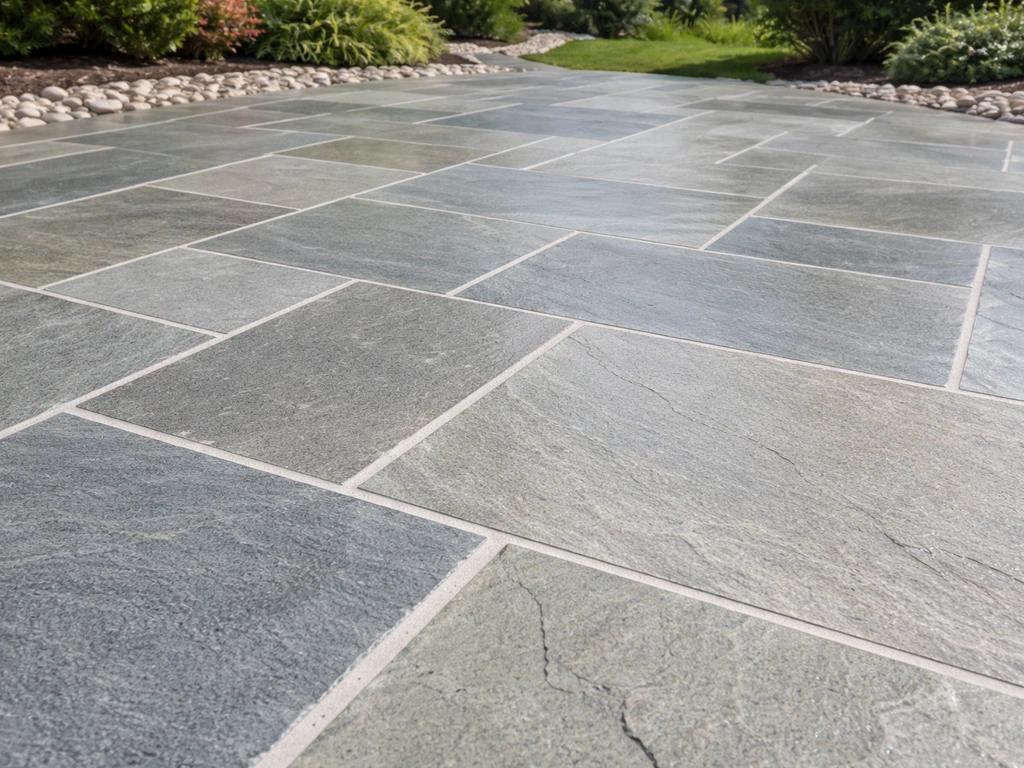
Why sealing slate is worth doing (and what it won't fix)
Slate is a naturally dense stone, but it's not impervious. Outdoor slate soaks up oil from grills and furniture, stains from leaves and rust, and absorbs enough moisture to crack in hard-freeze climates if water gets into the stone's surface pores and expands. A good sealer closes off those pores enough to slow all of that down significantly.
The real benefits you'll notice: oil and food spills bead up and wipe clean instead of soaking in, water sheens off the surface, and the slate is much less likely to develop the white powdery efflorescence (mineral salt deposits) that shows up on unsealed stone after a few seasons. Color-enhancing sealers also deepen the natural purples, greens, and grays in slate, which a lot of people find genuinely worth doing.
What sealing won't do: it won't repair existing cracks or loose joints, won't stop heavy physical wear, and won't prevent staining forever. Sealers slow things down, they don't create a permanent barrier. You'll still need to clean up spills, especially oil, within a reasonable time. And if your slate is already cracked or the joints are failing, no sealer fixes that. Deal with any structural issues first.
Penetrating vs topical sealers: which type actually works outdoors
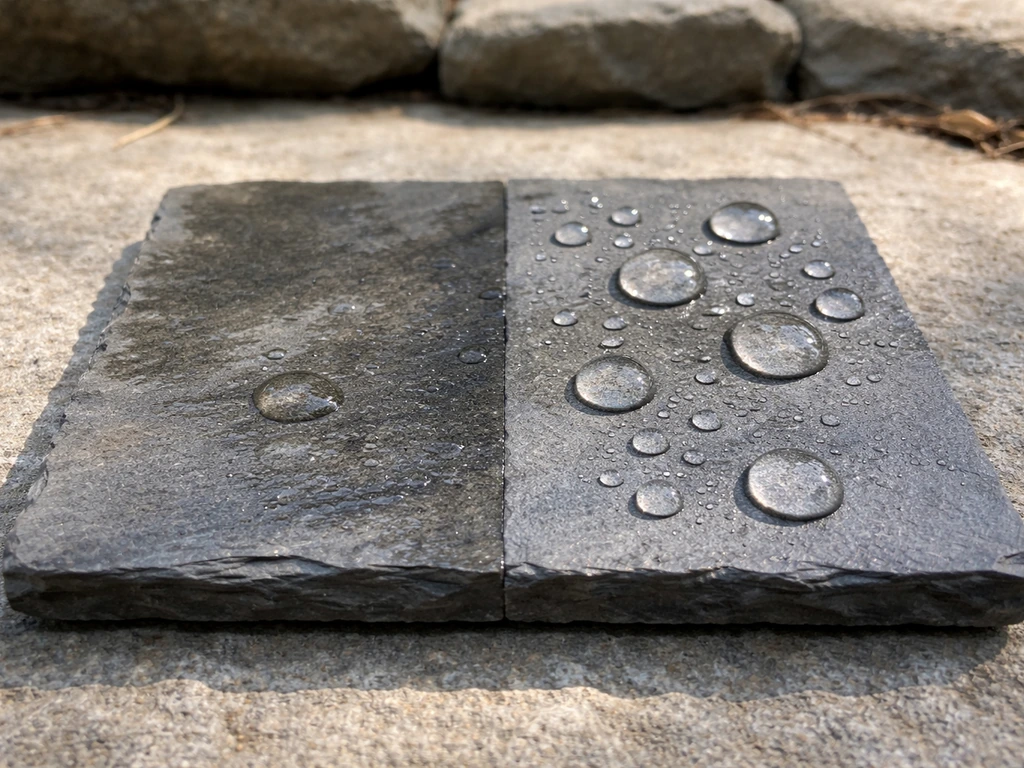
This is the most important decision you'll make, and it comes down to where your patio is and how the slate will be used.
Penetrating (impregnating) sealers
These soak into the stone's surface layer and create a subsurface barrier that repels liquids without sealing off the pores completely. The stone can still breathe, meaning trapped moisture can escape as vapor rather than building up under a film. That breathability is critical outdoors, especially in freeze-thaw climates, because moisture that can't escape will eventually push a topical coating off the surface. Penetrating sealers also don't change the surface texture of the slate, so traction stays close to what it was unsealed. For most outdoor slate patios, this is the right category.
Topical (film-forming/coating) sealers
These sit on top of the stone as a physical film. They can create a strong wet-look gloss and offer good short-term stain protection, but outdoors they come with real trade-offs. They trap moisture beneath them, which causes peeling, clouding, or bubbling, especially in climates with temperature swings. They also change the surface texture, and depending on the product and how heavily it's applied, they can make slate significantly more slippery when wet. If your slate is in a covered outdoor space, sunroom, or interior application, topical sealers are more viable. For an open patio exposed to rain and frost, avoid them.
| Feature | Penetrating Sealer | Topical/Coating Sealer |
|---|---|---|
| Surface film | None (subsurface protection) | Yes (physical film on top) |
| Breathability | High (moisture can escape) | Low (traps moisture) |
| Freeze-thaw performance | Good to excellent | Poor to fair (peeling risk) |
| Wet-look finish option | Yes (color-enhancing versions) | Yes (strong gloss) |
| Natural/matte finish option | Yes | Limited |
| Slip resistance impact | Minimal change | Can reduce traction (product-dependent) |
| Reapplication difficulty | Easy (reapply over existing) | May need stripping first |
| Best use | Outdoor exposed patios | Covered/indoor slate surfaces |
Picking the right sealer for your specific slate and climate
Not all slate is the same, and neither is every patio situation. Here's how to match the product to your actual conditions.
New, never-sealed slate
This is the easiest situation. The slate is open and ready to absorb the sealer properly. Use a solvent-based or water-based penetrating impregnator. Solvent-based formulas tend to penetrate more deeply and last longer on dense stone, but they have stronger fumes and require more ventilation during application. Water-based options are lower odor, more eco-friendly, and still perform well on slate specifically. Do a test patch first to confirm the finish looks the way you want before doing the whole patio.
Previously sealed slate
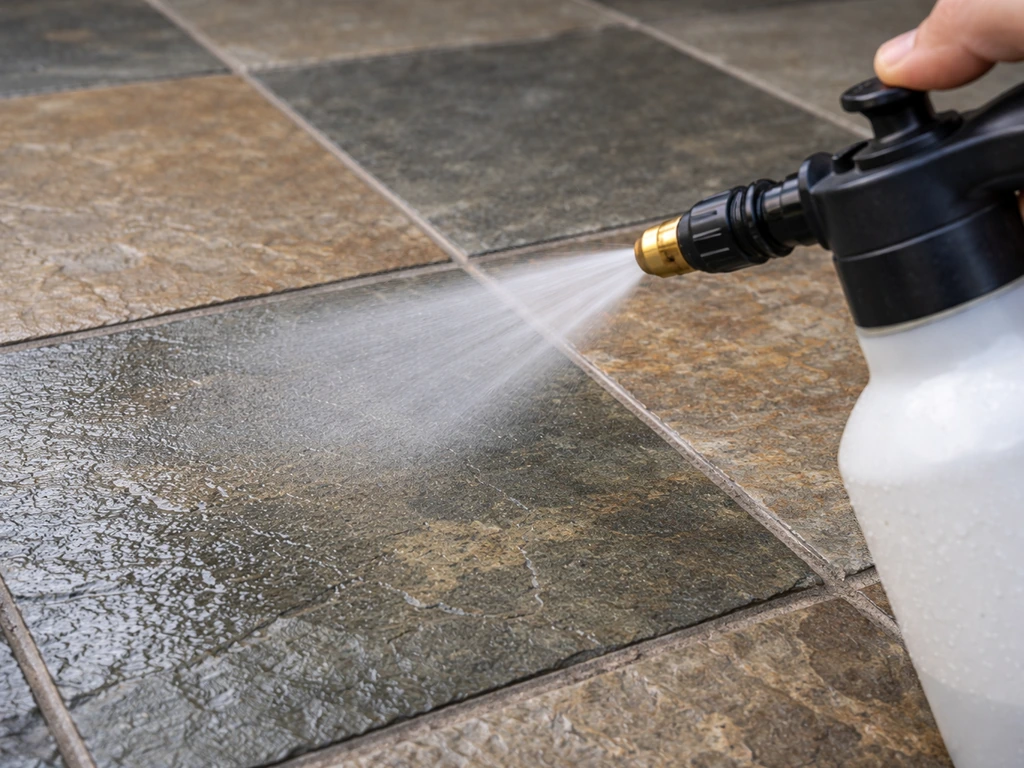
If you don't know what was applied before, test a small area with water. If water still beads, the existing sealer is still active and you may not need to reapply yet. If water absorbs quickly, the sealer is spent. The key concern is compatibility: applying a solvent-based sealer over a topical water-based coating can cause problems. If you're unsure what's there, use a water-based penetrating sealer, which is generally compatible across more scenarios. If the old sealer is peeling or visibly degraded, strip it first.
Weathered, patched, or repaired slate
Older slate that has surface pitting, repaired cracks, or repointed joints needs a bit more attention. Make sure repairs are fully cured before sealing. Patched areas can absorb sealer at different rates and may show as darker spots if you're using a color-enhancing product. Do test patches over repaired areas specifically.
Cold climates with hard winters
Freeze-thaw durability is non-negotiable here. Look specifically for products that mention freeze-thaw stability or are rated for exterior natural stone in northern climates. A breathable penetrating sealer handles this best, since trapped moisture under a topical coat is the number one cause of freeze-related delamination and cracking.
Hot, sunny climates
UV stability matters here. Topical sealers especially can yellow or cloud under prolonged UV exposure. Look for penetrating sealers with UV inhibitors, or at least UV-stable formulas. Solvent-based products can sometimes fade in very high UV conditions too, so check the product specs for UV performance.
Finish: natural vs wet-look
This is a personal preference question, but test before committing. Wet your slate with plain water and look at the color shift. That's approximately what a color-enhancing penetrating sealer will look like. If you like it, go color-enhancing. If you prefer the dry look of the stone, choose a natural-finish impregnator. Doing a test patch on a hidden section before you seal the whole patio takes 20 minutes and saves a lot of regret.
Prep work: what to do before you open the sealer
Prep is where most DIY sealing jobs go wrong. The sealer can only be as good as the surface you're applying it to. Rushing this step causes hazing, blotchy absorption, and premature failure.
Step 1: Clean the slate thoroughly
Sweep the entire patio to remove debris, then wash the slate with a pH-neutral stone cleaner. Don't use vinegar, bleach, or general household cleaners. Vinegar is acidic and will etch slate over time. Bleach can discolor it and leave a residue that interferes with sealer adhesion. If you have efflorescence (white powder), use an efflorescence remover specifically formulated for natural stone before the main clean. If there's algae or mildew, a diluted stone-safe biocide will handle it. Rinse everything completely and let the surface dry.
Step 2: Let it dry completely
This is the step people skip, and it's the one that causes the most problems. The slate must be bone dry before you apply sealer. Moisture trapped in the stone will prevent penetrating sealers from absorbing properly and will cause topical sealers to cloud or peel. After washing, wait at least 24 to 48 hours of dry weather before sealing. In humid climates or shaded areas, wait longer. If you're unsure, stick a piece of plastic sheet flat on the slate, tape the edges, and leave it for a few hours. If moisture condenses under it, the stone isn't dry yet.
Step 3: Check and repair joints and cracks
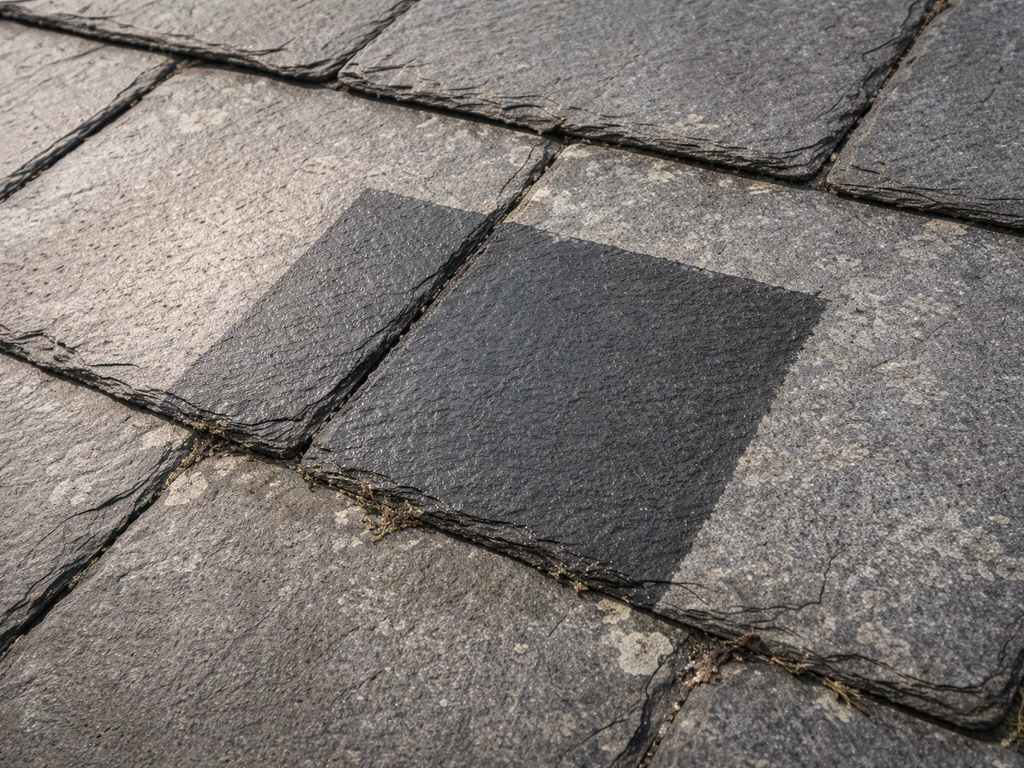
Look at the joints between slate pieces. Cracked, missing, or crumbling grout or mortar joints let water bypass the surface and get under the slate, which no sealer can protect against. Repair joints with a compatible mortar or pointing compound and let it cure fully before sealing. The same goes for cracked slate: either replace the piece or fill the crack with an appropriate stone repair product and let it cure.
Step 4: Do a test patch
Pick a spot that's out of the main sightline, apply a small amount of sealer, and let it cure for 24 hours. Check the finish, the color change, and how it feels underfoot when wet. This is also how you confirm the product is compatible with your specific slate. Some slates have high iron content or unusual mineral compositions that react unexpectedly with certain sealer chemistries.
How to apply the sealer correctly
Application method matters almost as much as product choice. The most common mistake is applying too much sealer at once, which is exactly what causes haze, tackiness, and streaks.
Tools
For most outdoor slate patios, a low-pressure pump sprayer is the fastest and most even application method. Use a wide fan nozzle and keep the sprayer 12 to 18 inches from the surface. A lamb's wool applicator or a foam roller on a long handle also works well and gives you good control over coverage. Avoid cheap paint rollers with thick nap, which can leave bubbles. Have a clean paint brush on hand for edges, corners, and around obstacles.
Number of coats and timing
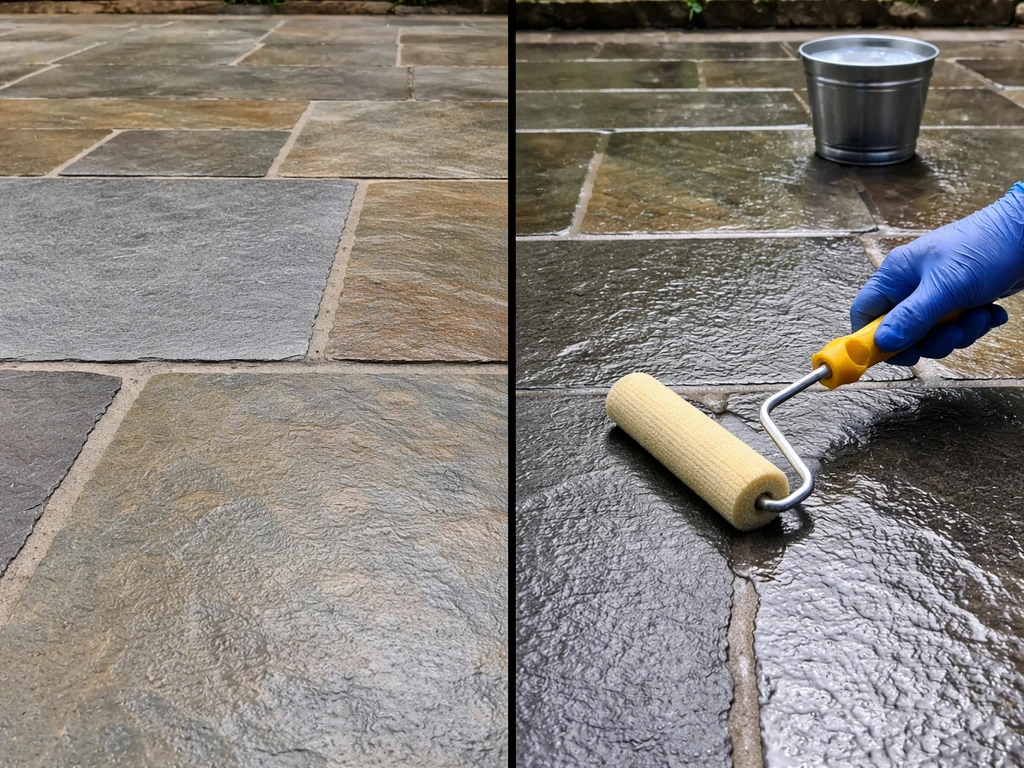
Most penetrating sealers for outdoor stone require two coats. Apply the first coat evenly across the whole surface. Watch the stone: the sealer should absorb into the slate within a few minutes. On very porous or weathered slate, you'll see it soak in quickly and the surface will look dull or dry. That's normal. Apply the second coat while the first is still slightly tacky, usually 10 to 30 minutes after the first application. Check the product instructions for the exact window, because timing varies and applying the second coat too late can cause adhesion issues. Two thin coats always outperform one thick coat.
Avoiding haze, streaks, and tackiness
These problems almost always come from one of two things: applying too much product, or failing to wipe off the excess before it dries. After each coat, go back over the surface with a clean dry cloth or microfiber mop and buff off any sealer sitting on top of the stone. If you can see a sheen or a wet film sitting on the surface after 5 to 10 minutes, wipe it off. Sealer that dries on top of slate rather than absorbing into it is what turns hazy and sticky. Work in sections on larger patios so you can wipe before the sealer sets.
Temperature and timing for application
Apply sealer when air and surface temperatures are between about 50 and 85 degrees Fahrenheit. Avoid direct hot sun on the surface during application because the sealer can dry too fast to absorb properly. Early morning on a mild day is ideal. Don't apply if rain is forecast within 24 hours, and don't apply over frost or if the stone surface is still cold from overnight temperatures.
Drying, curing, and when the patio is usable again
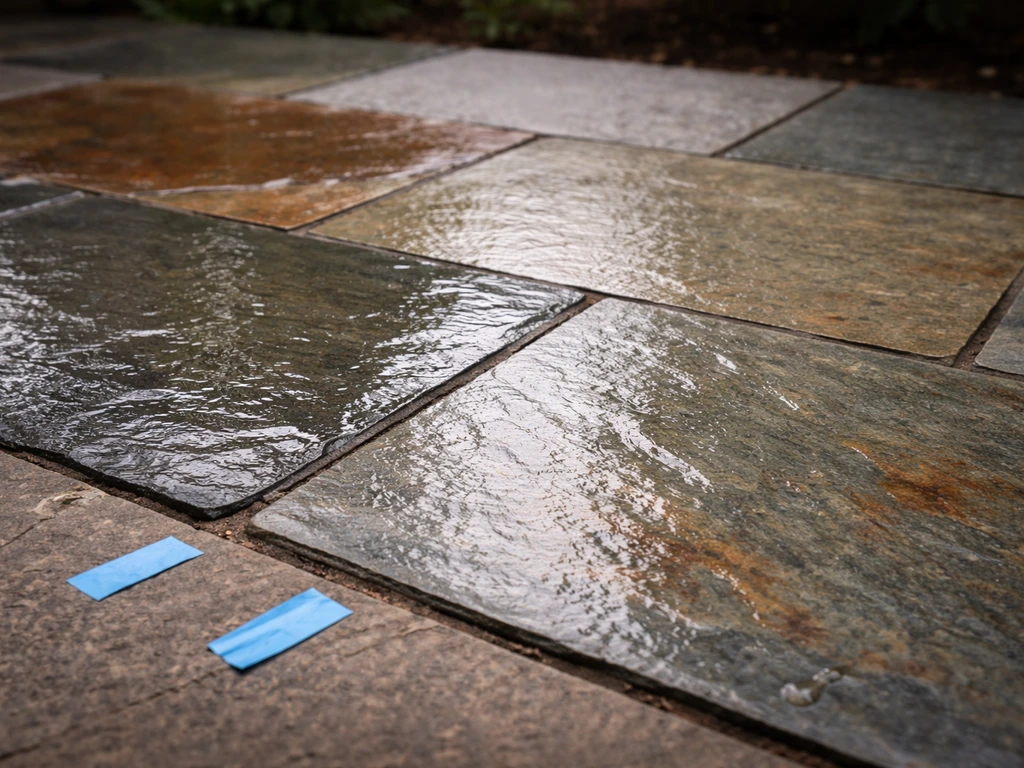
Drying and curing are two different things. Most penetrating sealers feel dry to the touch within a few hours, but the chemistry is still completing in the stone for much longer. Here's a general timeline, though you should always check your specific product's data sheet.
- Light foot traffic: typically safe after 4 to 6 hours once the surface feels dry and non-tacky
- Normal foot traffic: wait at least 24 hours, ideally 48 hours
- Furniture: wait at least 48 to 72 hours before placing chairs, tables, or planters
- Full cure (maximum stain protection): most penetrating sealers reach full cure in 3 to 7 days
On safety: if you're using a solvent-based sealer, ventilation is important during application and drying. Keep kids and pets off the patio until it's fully dry and any solvent odor has dissipated, usually 24 hours minimum. Water-based sealers have much lower VOC levels and are generally safe for pets and children once dry, but let the surface cure for at least 24 hours before letting anyone back on it to be safe. Keep sealer away from nearby plants during application because it can damage foliage. If you're spraying near garden beds, cover plants with plastic sheeting first.
How often to reapply and how to keep the sealer working longer
Most quality penetrating sealers on outdoor slate last 3 to 5 years under normal conditions. High-traffic areas, harsh climates, and exposure to deicing salts or pool chemicals will shorten that lifespan. Low-traffic patios in mild climates can sometimes go 5 to 7 years before needing a full reapplication.
The simplest way to test if your sealer still works: pour a small amount of water on the slate. If it beads up and rolls off, you're protected. If it absorbs into the stone and darkens within a few seconds, it's time to reseal. Do this test once a year, ideally in spring before the heavy outdoor season starts.
Cleaning sealed slate without wrecking the sealer
Stick to pH-neutral cleaners for routine maintenance. Harsh acids, alkaline degreasers, and pressure washing with concentrated detergents will degrade the sealer faster than normal wear. Sweep regularly to prevent abrasive grit from grinding into the surface. For spills, clean them up promptly: the sealer buys you time, but it's not a permanent shield. A diluted pH-neutral stone soap and a soft brush or mop will handle most cleaning jobs without damaging the seal.
Extending the life of the sealer
- Avoid pressure washing at high pressure directly on the slate surface; use low pressure (under 1,200 PSI) with a wide fan tip
- Don't use deicing salts (sodium chloride or calcium chloride) on sealed slate; they're corrosive to both the sealer and the stone
- Use furniture pads under chair and table legs to prevent abrasion
- Rinse the patio down after pool splash or fertilizer exposure, both can degrade sealers
- Reapply a maintenance coat every 2 to 3 years rather than waiting for the sealer to fully fail; this is easier than stripping and starting over
When things go wrong: fixing common sealer problems
Hazy or cloudy finish
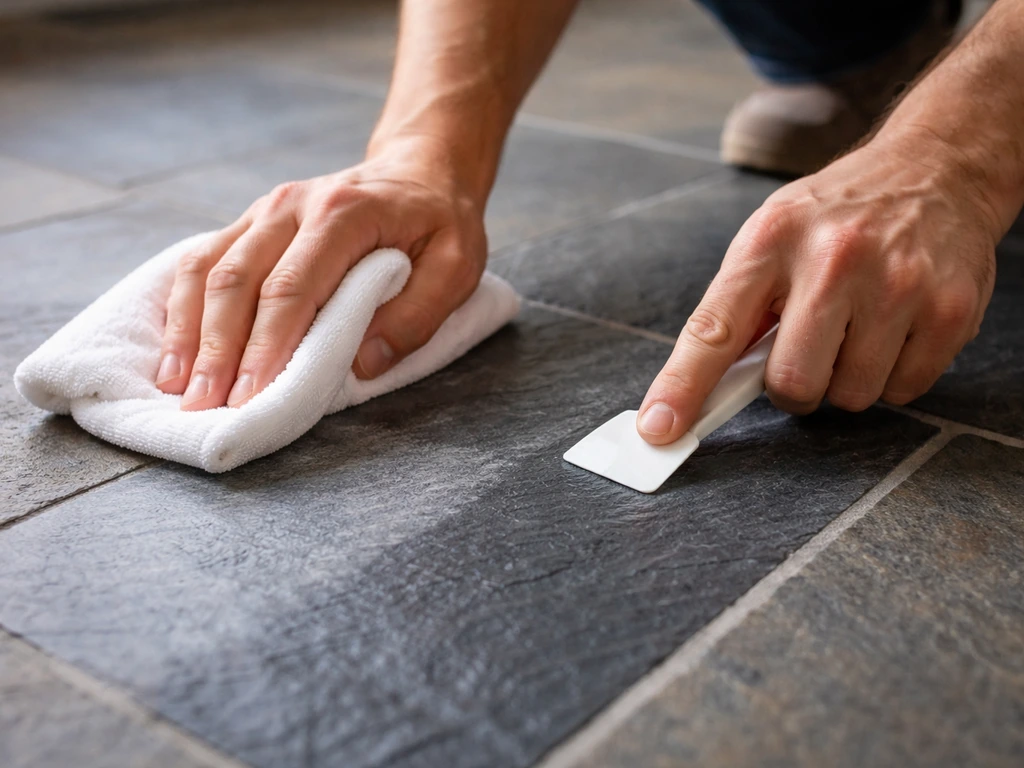
This is the most common DIY sealing problem and it almost always means excess sealer dried on the surface instead of absorbing into the stone. If it's caught early (within a few hours), try buffing vigorously with a dry microfiber cloth. If it's already fully dried, you'll need a sealer stripper or residue remover designed for natural stone. Apply it per the manufacturer's directions, scrub the affected area, rinse thoroughly, let the stone dry completely, and then reseal carefully using thinner coats and proper excess removal.
Slippery surface
A properly applied penetrating sealer should not make slate significantly more slippery. If your patio feels dangerously slick after sealing, either too much product was applied (creating a surface film) or the specific product is not appropriate for exterior use. Slate can be a good choice for a patio, especially when you choose the right sealer and application method is slate a good choice for a patio. Strip the excess with a stone-safe sealer remover and consider switching to a penetrating impregnator explicitly rated for outdoor use. Some manufacturers offer versions with light slip-resistant additives for areas that get consistently wet, like pool surrounds or shaded patios that stay damp.
Blotchy or uneven absorption
Uneven absorption usually points back to prep: the slate wasn't uniformly clean or dry when the sealer was applied. Areas with residue, moisture, or old sealer will absorb differently than open stone. If the blotchiness is minor, a second coat applied carefully and evenly can sometimes even things out. If it's pronounced, strip and start with proper prep.
Staining through the sealer
If oil or another stain has penetrated despite sealing, the sealer may have been degraded in that spot, or the stain soaked in during the curing window before full protection was established. For fresh oil stains, apply a poultice (a paste of absorbent powder like talc or diatomaceous earth mixed with a stone-safe solvent) over the stain, cover it with plastic for 24 to 48 hours, then remove and rinse. Repeat if needed. After the stain is removed, let the area dry fully and apply a fresh coat of sealer to that section.
Tacky or sticky surface after curing
If the surface still feels tacky after 24 to 48 hours, the sealer was over-applied or was applied in too-cool or too-humid conditions that prevented proper curing. Try buffing with a dry cloth first. If that doesn't fully resolve it, a sealer residue remover applied lightly and then wiped off will usually pull up the sticky excess. Going forward, apply thinner coats and buff off all excess within the window specified by the product.
If you're still deciding whether slate is the right surface for your space, or comparing it to other patio materials, it's worth thinking through both whether slate suits your climate and how it stacks up against other slab options before committing to a full sealing and maintenance routine. If you are comparing slate patio tiles to other hardscape slab options, learning what a patio slab is can help you choose the right base and finish what is patio slab. A well-chosen and properly sealed slate patio is genuinely durable and beautiful, but the right starting point makes all the difference in how much ongoing work it requires. Knowing how to choose patio slabs for your climate and use will help you get better results from sealing.
FAQ
What’s the difference between a “penetrating impregnator” and “water repellent” when choosing the best slate patio sealer?
Penetrating impregnators are formulated to carry protection into the stone pores, while many “water repellent” claims focus mainly on surface beading. For outdoor slate, prioritize impregnators that explicitly mention exterior natural stone use and durability (for example freeze-thaw stability), not just water repellency. If a product only promises water beading and lacks exterior stone wording, it may behave more like a topical film than you want.
How do I know if my slate is too porous for one round of sealer?
After the first coat, watch whether the slate absorbs within a few minutes and looks visibly dull or “dry” almost immediately. That’s a sign you may need a timely second coat while the first is still slightly tacky, and possibly extra attention with edges and heavily trafficked zones. If you still see rapid re-darkening or heavy dullness after the second coat, do a smaller test area first instead of adding a third coat everywhere.
Can I use a penetrating sealer over old topical sealers or coatings?
It depends on whether the existing layer is still intact. If water no longer beads and the old coating is fully deteriorated or stripped, a penetrating sealer is usually workable. If water beads because a topical layer is still active, applying a penetrating sealer can lead to uneven appearance and slower curing because the stone pores are not truly accessible. In that case, strip residues from the surface before sealing, then reassess with a water test.
Is it safe to seal slate if there’s existing efflorescence (white powder)?
No, efflorescence should be addressed first. Sealers can lock in salts and residue, leading to recurring white deposits and poor adhesion. Use a natural-stone efflorescence remover, rinse thoroughly, and wait until the slate is fully dry before sealing. If the white powder returns quickly after cleaning, you likely have a deeper moisture source and should fix that first.
Do I need to seal slate that’s already outdoors but covered by an awning?
Often yes, but the “best slate patio sealer” choice depends on how much rain and condensation reach it. A covered patio usually sees less direct wetting, but shaded areas can stay damp longer, which still increases efflorescence and slip risk. For covered outdoor use, a penetrating impregnator remains the safest long-term option because it reduces moisture-driven problems without creating an external film.
What’s the safest way to protect surrounding plants while sealing?
Spraying or splashing sealer can harm foliage. Cover plants with plastic sheeting before application, and avoid fogging the air near garden beds. Keep runoff contained by preventing over-spray onto soil and by applying in calm weather. After application, allow full cure before uncovering plants so any odor or residues dissipate.
Can I apply sealer when temperatures are close to freezing at night?
Avoid it. Even if the product temperature range looks acceptable during the day, freeze-thaw cycling during curing can cause adhesion issues and trapped moisture problems. Plan so the surface stays above the minimum recommended range through curing, and do not apply over cold slate or frost. If a cold snap is forecast, postpone sealing rather than trying to rush the cure.
How much sealer should I apply to avoid haze, stickiness, and slip?
Apply enough for uniform absorption, then remove any excess before it dries. The article’s rule of thumb is to buff off any surface film within about 5 to 10 minutes if you notice sheen or a wet layer sitting on top. Use thin, even coats (two coats are usually better than one heavy coat), and focus on edges and corners to keep coverage consistent.
If my patio feels slippery after sealing, what should I do first?
First, confirm whether the surface has a visible film or sheen, which usually indicates over-application. Dry buffing with a clean microfiber cloth can help if the residue hasn’t fully cured. If it stays slick after 24 to 48 hours, use a sealer residue remover made for natural stone, then rinse, fully dry, and reseal using thinner coats or a product rated for outdoor traction if the area stays wet often.
Will sealing stop cracks in slate or failing joints?
No. Sealers slow moisture-related damage, but they do not restore structural integrity. If grout or mortar joints are cracked or missing, water can bypass the sealer and reach the underside, so you need compatible repointing or repair and full curing before sealing. For cracked slate pieces, replace or use an appropriate stone repair product and let it cure fully, then test patch and seal.
How long should I wait before walking on a newly sealed patio?
Even if a penetrating sealer feels dry to the touch sooner, curing continues. For typical outdoor products, wait at least 24 hours before foot traffic, and longer if the weather is cool, damp, or shaded. Solvent-based sealers may require extra time for odor and vapor dissipation, so keep children and pets off until full dryness and no lingering smell.
What’s a good maintenance schedule to keep the sealer working longer?
Do an annual water test in spring to check whether the stone still beads and rolls off water. Clean with pH-neutral stone cleaners regularly, sweep to prevent gritty abrasion, and avoid pressure washing with harsh detergents. For spills, blot and clean promptly, since the sealer buys time but does not make stains impossible.
If oil stains reappear even after sealing, how should I remove them safely?
For oil that has penetrated, use a poultice method with absorbent powder mixed with a stone-safe solvent, cover with plastic for 24 to 48 hours, then rinse and dry fully. After removal, apply a fresh sealer coat to that section only (not necessarily the whole patio) using a small test patch first to verify color and uniformity.