
A gravel patio is a genuinely good idea for a lot of homeowners, but not for all of them. If your priority is low upfront cost, fast installation, and solid drainage, gravel is hard to beat. A basic gravel patio can run $1 to $4 per square foot installed DIY, compared to $15 to $30+ for flagstone or porcelain tile. But if you want a perfectly flat surface for dining furniture, a polished look, or a space that's barefoot-friendly, gravel has real limitations you should know about before you commit.
Is a Gravel Patio a Good Idea? Pros, Costs, Steps, Care

Nolan Ellison
8 Jul 2026
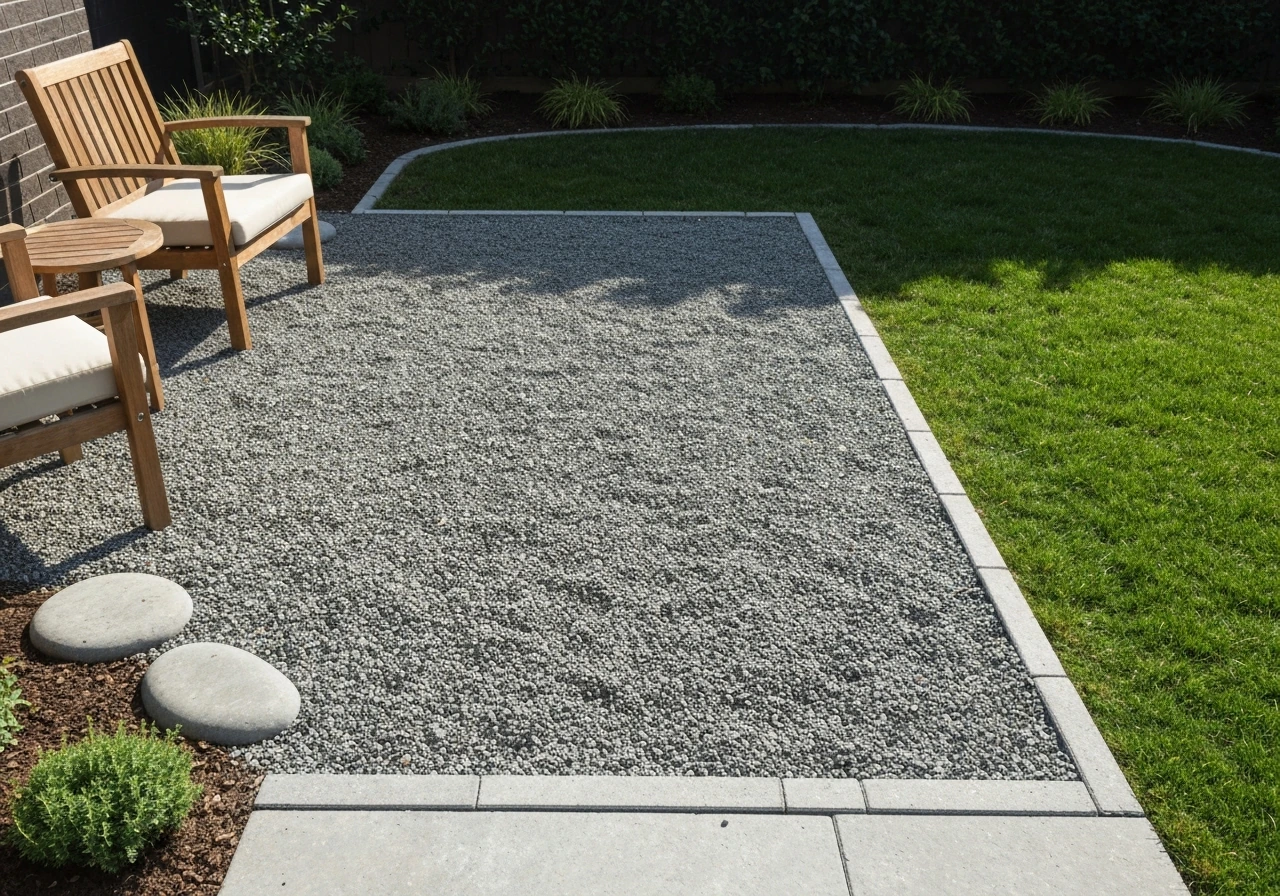
When a gravel patio makes sense (and when it doesn't)
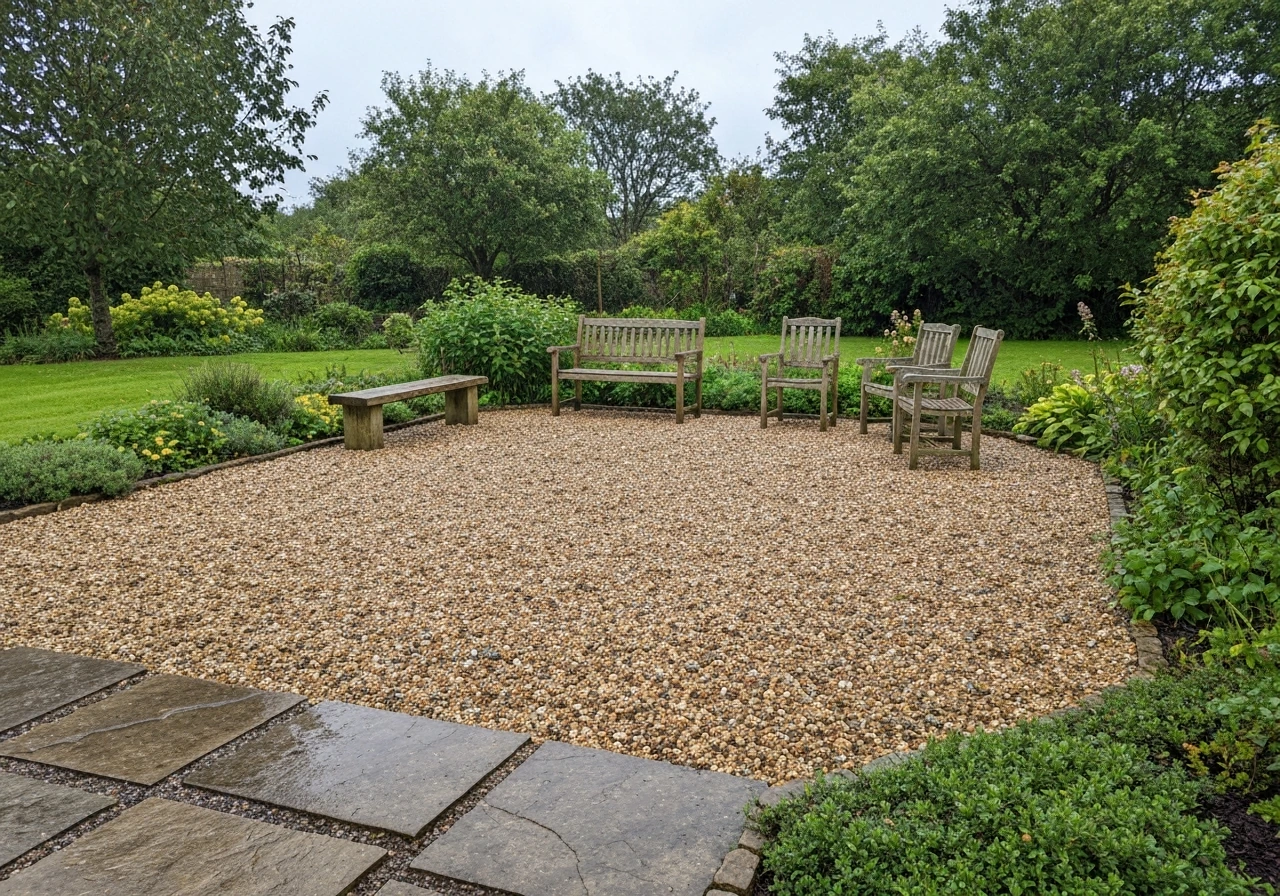
Gravel works best as a patio surface when you need to cover a large area on a tight budget, want excellent natural drainage in a wet climate, or are building in a rustic or cottage-style yard where the informal look fits. It's also a strong choice if you're renting (it's temporary and removable), if your yard has poor drainage and you want to avoid puddles, or if you want a DIY weekend project without renting heavy equipment.
It's a bad fit if you're planning to use heavy outdoor furniture that will sink or wobble on a loose surface, if you have young kids who will inevitably track gravel inside, if someone in your household has mobility issues (loose stone is genuinely hard to walk on with a cane or walker), or if you want a clean, modern aesthetic that calls for crisp lines. A dog that loves to dig is also gravel's worst enemy.
- Good fit: large areas, wet or clay-heavy yards needing drainage, budget-conscious builds, informal/cottage garden styles, temporary installations
- Good fit: low-maintenance landscapes where a natural look is the goal
- Bad fit: households with toddlers, seniors with balance issues, or dogs that dig
- Bad fit: modern or formal design schemes, spaces that need a perfectly level surface for heavy furniture
- Bad fit: anyone who hates the idea of raking or occasional top-ups
The real pros and cons (cost, drainage, durability, comfort)
Cost and value
Gravel is one of the cheapest hard-landscape options available. Bulk pea gravel or crushed stone typically runs $30 to $55 per ton, and a 200-square-foot patio using 2 inches of surface gravel over a compacted base needs roughly 1 to 1.5 tons of surface material. Add in a weed barrier, edging, and a compactable gravel base, and a DIY project for that size can land under $400 in materials. Professional installation adds labor but still comes in well below pavers or tile.
Drainage
This is where gravel genuinely shines. Water passes straight through the surface and into the base layers rather than pooling, which makes it an excellent choice for wet climates or low spots in a yard. That said, the drainage performance depends heavily on the build below the surface, not just the gravel itself. Angi also notes that pea gravel patio drainage can be an advantage, helping blank" rel="noopener noreferrer">reduce pooling and erosion when installed with the right setup. If you build the layers correctly, crushed stone can work well as a gravel patio sub-base. A properly constructed base with compacted crushed stone over well-prepared subgrade will drain well; a gravel layer dumped over compacted clay won't.
Durability
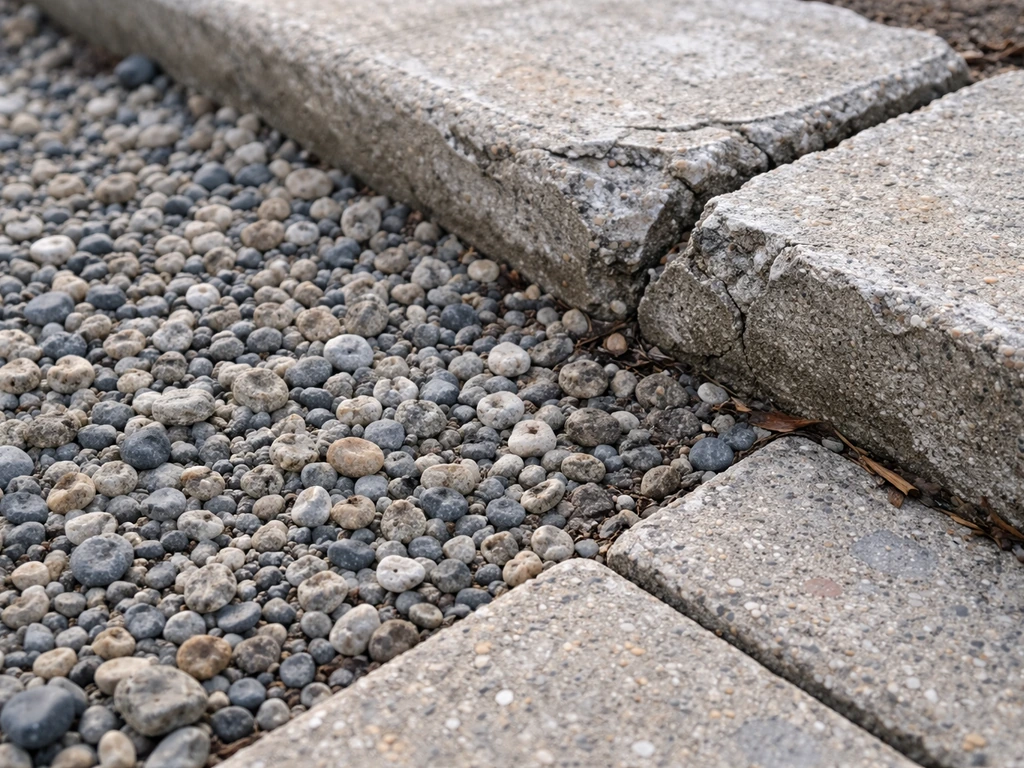
Gravel doesn't crack, chip, or heave from frost the way pavers or concrete slabs can. That's a real durability advantage in climates with harsh freeze-thaw cycles. What it does do over time is shift, spread, and thin out in high-traffic zones. With proper edging and the right gravel type (angular crushed stone rather than round pea gravel), shifting is manageable. Figure on adding a fresh top layer every two to four years to keep it looking good.
Comfort and footing
Honestly, gravel is not the most comfortable surface to walk on barefoot, especially larger crushed stone. Pea gravel (3/8 inch) is softer underfoot but shifts more. Decomposed granite or fine crushed limestone compacts into a firmer, more walkable surface that sits somewhere between gravel and a paved path. If comfort is a priority, you can place stepping stones or pavers in the highest-traffic zones and let gravel fill the rest.
Choosing your gravel and planning the layout
Gravel size and type
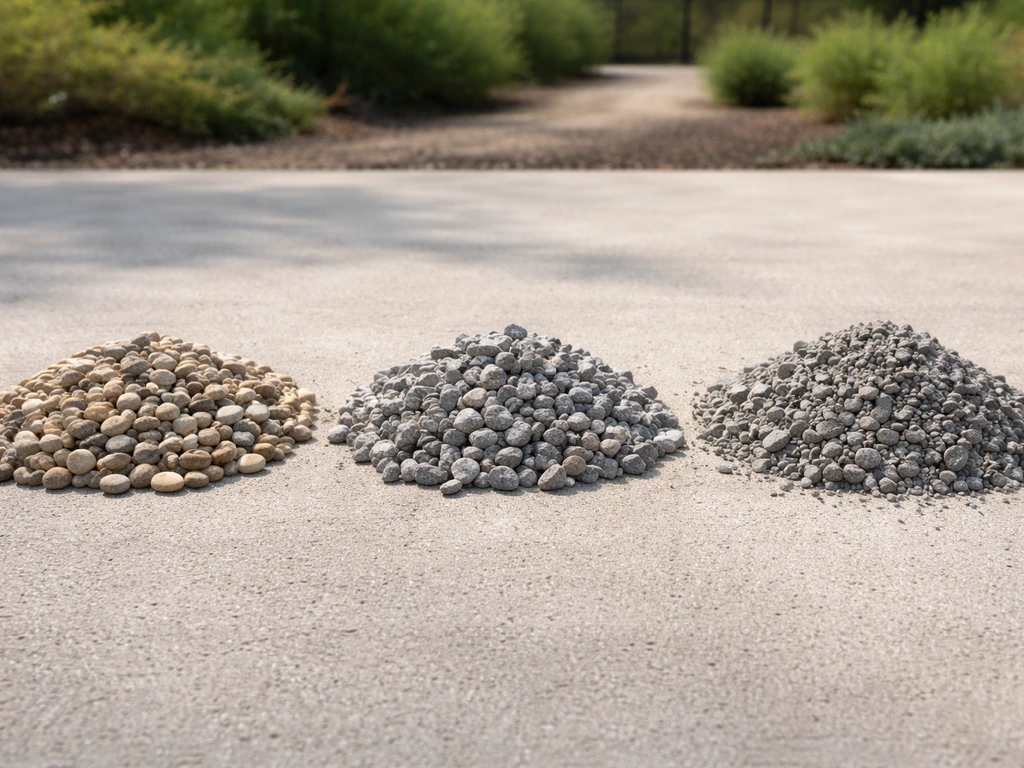
The type and size of gravel you choose makes a surprisingly big difference in how the patio performs. Angular crushed stone (like 3/4-inch crusher run or crushed granite) locks together and resists shifting far better than round pea gravel. Pea gravel looks beautiful and is gentler underfoot, but it migrates easily and can feel like walking on ball bearings. For the best balance of drainage, stability, and appearance, many installers use a compacted angular base (crusher run or processed gravel) topped with 1.5 to 2 inches of a smaller, more decorative stone.
| Gravel Type | Size | Stability | Drainage | Comfort Underfoot | Best Use |
|---|---|---|---|---|---|
| Pea gravel | 3/8 inch | Low (round, shifts) | Excellent | Soft but unstable | Decorative fill, low-traffic areas |
| Crushed granite/limestone | 3/4 inch | High (angular, locks) | Very good | Firm, rougher | Base layer and surface on high-traffic patios |
| Decomposed granite (DG) | Fine, compactable | High when compacted | Good | Firm, almost paved feel | Patios where stability is priority |
| River rock | 1–2 inch | Low (round, heavy) | Excellent | Hard, uncomfortable | Decorative borders, not walking surfaces |
| Crusher run / road base | Mixed fines | Very high | Moderate | Firm, dusty if dry | Base layer, not recommended as top surface |
For color, consider the overall yard and house palette. Gray crushed limestone reads clean and modern; tan or buff crushed gravel feels warmer and more natural. White marble chips look sharp but show dirt quickly. If you're wrestling with which specific gravel to specify, the details on gravel selection go deeper in the dedicated guide to the best gravel for patio surfaces. If you want the most practical picks, check out the best gravel for patio surfaces so you can match size and type to your goals.
Layout planning: slope, edging, and shape
Plan for a slope of at least 1 percent (1 inch of fall per 8 feet of run) away from the house or any structure. This ensures water drains off rather than pooling. Mark out your patio shape with spray paint or a garden hose before you dig anything. Simple rectangular shapes are easiest to edge and maintain. Irregular or curved shapes look great but require more flexible edging material.
Edging is non-negotiable. Without a solid border, gravel will spread into your lawn, garden beds, and eventually your house interior via foot traffic. Steel landscape edging is the most durable option and practically invisible once installed. Plastic edging is cheaper but can warp or pop out over time. Timber, brick, or concrete mow strips also work and can add a design element. Whatever you choose, stake it firmly and bury it at least 4 inches into the ground.
How to install a gravel patio the right way
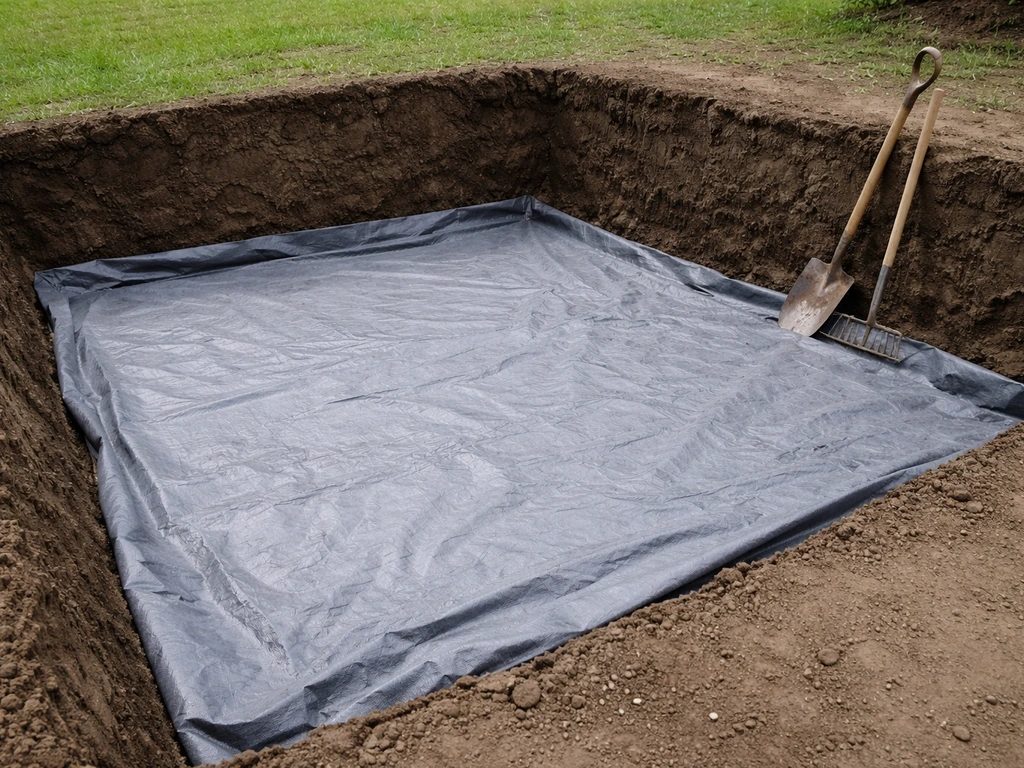
I've seen gravel patios installed in a single afternoon by simply dumping stone on bare ground, and I've seen those same patios become weedy, lumpy messes within a season. The installation steps below are what actually make a gravel patio last.
- Mark and excavate: Outline your patio area and dig down 4 to 6 inches (deeper, closer to 8 inches, on clay-heavy or high-rainfall sites). Remove all existing vegetation, roots, and debris.
- Grade the subgrade: Rake the exposed soil to your desired slope (1% minimum away from any structures). Tamp the soil firmly with a plate compactor or hand tamper.
- Lay a geotextile weed barrier: Roll out a heavy-duty woven geotextile fabric (not thin, flimsy garden fabric) over the entire area, overlapping seams by at least 6 inches. This separates the gravel layers from the subgrade, reduces weed intrusion, and helps stabilize soft soils. Know upfront that no fabric stops 100% of weeds forever, especially once organic debris blows onto the surface, but a quality geotextile dramatically reduces the problem.
- Add a compacted base layer: Spread 3 to 4 inches of compactable crushed stone (crusher run or road base) over the fabric. Rake level and compact in 2-inch lifts. This is the structural layer that provides stability and drainage.
- Install edging: Set and stake your landscape edging around the perimeter at this stage, with the top of the edging at your intended finished gravel height.
- Add the surface gravel: Spread 1.5 to 2 inches of your chosen decorative gravel over the base layer. Rake level. The final surface should sit just at or slightly below the top of your edging to contain the stone.
- Final check: Walk the entire surface to identify any soft or uneven spots. Add gravel and re-rake as needed.
One note on weed barrier fabric: the quality of the geotextile matters a lot. InspectApedia similarly notes that blank" rel="noopener noreferrer">geotextile fabric helps stabilize the soil and manage weeds, while it does not stop 100% of weeds on its own. Cheap, thin woven or non-woven fabrics break down faster, allow more weed penetration, and can tear when you rake or maintain the surface. Spend a bit more on a heavier polypropylene geotextile rated for landscape use. It pays off in years of reduced weed maintenance.
Keeping a gravel patio in shape over time
Weeds
Even with a good weed barrier and proper gravel depth, weeds will eventually show up. They typically germinate in the layer of organic debris (leaf litter, soil, dust) that accumulates on top of the gravel surface, not from below the fabric. Your best defense is keeping the surface clean with regular raking. For weeds that do establish, pull them when small before roots go deep. Pre-emergent herbicide applied in early spring is effective and far less work than pulling established weeds in July.
Shifting and migration
High-traffic areas, especially near entry points, will thin out as gravel gets kicked or tracked elsewhere. Rake the patio every few weeks to redistribute gravel back toward those zones. Once a year or so, re-level the whole surface by raking everything back toward the base layer and topping up thin spots. A good rule of thumb from installation guides: maintain roughly 1.5 to 2.5 inches of gravel above the edging level, and add fresh stone to bring thin areas up to about 1 inch below the edging lip so rain doesn't wash it out.
Erosion and drainage problems
If gravel is washing out in a specific area after rain, the slope is either insufficient or pointing the wrong direction. Re-grade the affected area, compacting the base before re-laying the surface stone. A persistent puddle means water is pooling at a low spot, often because the underlying subgrade settled unevenly. Fix it by removing the gravel in that area, re-compacting the base, and adding material to re-establish a proper slope before replacing the stone.
Top-ups
Budget for a refresh of your surface layer every two to three years. A thin layer of fresh gravel raked over an existing patio brightens the color and fills in thin spots quickly. Order the same type and color you used originally so it blends in. Most gravel suppliers sell by the ton or half-ton, and for a typical 200 to 300 square foot patio, a half-ton top-up every few years is usually enough.
Gravel vs other patio materials: which one fits your situation
If you're deciding between gravel and another surface, here's an honest comparison across the most common options. The right choice depends on your budget, climate, desired look, and how much upkeep you're willing to do.
| Material | Installed Cost (per sq ft) | Drainage | Durability | Comfort | Maintenance | Best For |
|---|---|---|---|---|---|---|
| Gravel | $1–$4 DIY, $5–$10 pro | Excellent | Good (no cracking, but shifts) | Low (rough underfoot) | Low-moderate (raking, top-ups) | Budget builds, wet climates, large areas, informal style |
| Flagstone | $15–$30 | Good (gaps drain) | Excellent | Good | Low (occasional re-leveling) | Natural look with a firmer surface, mid-to-high budget |
| Brick | $10–$25 | Moderate | Very good | Good | Low-moderate (re-sanding joints) | Classic/traditional styles, moderate climate |
| Natural stone pavers | $20–$40+ | Moderate-good | Excellent | Excellent | Low | Premium looks, long-term investment |
| Porcelain tile | $15–$35 | Poor unless sloped precisely | Excellent (won't fade) | Excellent | Low (but cracks on bad base) | Modern style, covered or sheltered patios |
| Composite/composite decking | $20–$45 | Good (gapped boards) | Very good | Excellent | Low-moderate | Above-grade installs, modern look, barefoot comfort |
The biggest tradeoff against flagstone and pavers is comfort and finish quality. Flagstone over a gravel base is actually a hybrid approach many people use: it gives you the natural look and firmer footing of stone while gravel handles the drainage in between. If you want to go that route, the best gravel for patio base choices become particularly important because the sub-base has to support the stone weight and drain reliably. If you want to go that route, the best gravel for patio base choices become particularly important because the sub-base has to support the stone weight and drain reliably.
Porcelain tile looks exceptional but is unforgiving of any base movement. In climates with frost, a tile patio on a poorly built base will crack within a couple of winters. Gravel has the opposite problem: it won't crack, but it won't stay put without regular attention. Composites are the most comfortable and often the most expensive, and they sit above grade, making them a fundamentally different structural solution.
Cost, DIY vs. hiring a pro, and buying your materials
What a gravel patio actually costs
For a 200-square-foot patio built DIY, expect to spend roughly $200 to $600 in materials depending on your gravel choice, edging material, and whether you need to buy or rent a plate compactor. The breakdown looks something like this: $40 to $80 for geotextile fabric, $60 to $120 for base gravel (crusher run), $80 to $150 for surface gravel, and $40 to $100 for steel or plastic edging. Add $50 to $100 if you rent a plate compactor for a day. If you hire a contractor for the same project, expect $800 to $2,000 depending on your region and site conditions.
DIY or pro?
A gravel patio is one of the most accessible DIY patio projects out there. The main physical challenge is excavation. For a small patio (under 300 square feet) in reasonably soft soil, a strong weekend and a couple of helpers is realistic. For larger projects, sites with hard clay or rock, or areas with major grade changes, hiring an excavator for even a half-day will save your back and your schedule. The actual gravel spreading and leveling is straightforward. What tends to trip up DIYers is skipping proper compaction on the base layer, which leads to soft spots and uneven settlement within the first season.
Where to buy and what to order
For most homeowners, the best source for bulk gravel is a local landscape supply or sand-and-gravel yard. You'll pay significantly less per ton than buying bagged stone from a big-box store, and you can see the material before you buy it. Call ahead to ask about delivery minimums (most yards will deliver a minimum of 1 to 2 tons). For small patios, bagged gravel from a home improvement store is convenient and consistent, but expect to pay two to three times more per pound. Order your base gravel (crusher run) and surface gravel separately so you get the right material for each layer.
When shopping, ask specifically for angular crushed stone rather than rounded river rock or pea gravel for your base layer. The angularity is what lets the particles interlock and compact. For the surface layer, the best gravel for patio furniture stability is a slightly coarser, more angular stone in the 3/8 to 3/4 inch range, which compacts just enough to keep chair legs from sinking while still draining well.
Bottom line: a gravel patio is a genuinely good idea if you go in with clear eyes about what it is. It's affordable, drains beautifully, installs fast, and looks natural. It's not the right choice if you want a polished, maintenance-free, barefoot-comfortable surface. Get the base right, use real edging, choose angular stone over round pea gravel for the base layer, and plan for a light maintenance routine each year. Done right, a gravel patio holds up for a decade or more with minimal effort and cost.
FAQ
Is a gravel patio a good idea for wet climates or areas that stay muddy?
Yes, but only if you install a compacted base and keep the gravel depth and edging consistent. If you simply dump stone on top of soil, the water will still move unpredictably and you can get migrating gravel and soft spots after storms. Use a clear slope away from the house (at least 1 percent) and consider adding drainage improvements if you have persistent low-spot flooding.
Can a gravel patio be comfortable for barefoot walking?
It can work, but you will need a firmer top surface than typical pea gravel. Use angular crushed stone for stability, and consider a thin layer of decomposed granite or a few stepping pavers in the main walking lines. Even then, barefoot comfort will be better only when the stone size is finer and more compacted.
Is a gravel patio a good idea for someone who uses a cane, walker, or scooter?
Probably not for a mobility scooter or walker, unless you modify the surface. Loose, shifting gravel makes wheels and cane tips unstable, and an uneven base can increase risk. If you want gravel aesthetics, consider setting firm stone or paver paths for mobility routes and keep gravel only in low-traffic zones.
Will a gravel patio work well with dogs?
Yes, but expect more migration and occasional cleanup. Pets that dig will break the base edge and pull gravel out faster than foot traffic alone. The practical fix is reinforcing edging with deeper stakes and keeping the highest-dig-risk areas paver- or stone-lined so you do not rely on gravel alone.
Do I still need to deal with weeds if I use weed barrier under gravel?
Weed barrier fabric helps a lot, but it is not a force field. Weeds still sprout from organic debris that lands on top of the fabric, like leaf litter and dust. To reduce that, keep the surface raked, clear debris after storms, and pull seedlings early before they root through the top layer.
Why does my gravel patio form puddles even though I used drainage-friendly gravel?
Not really. Putting gravel over clay or compacted soil that has not been prepared often leads to settling and puddles, which then wash out the surface. The build matters more than the top stone, so compact the base properly and re-establish the slope before adding the final layer.
Can I use pea gravel instead of angular crushed stone?
You can, but do not mix them in the same layer unless you are intentionally creating a hybrid. Angular crushed stone compacts and interlocks better, while round pea gravel tends to shift. A common approach is crusher run (base) topped with a smaller, slightly angular decorative stone for the surface.
What’s the most common reason gravel patios spread into the lawn?
Edge failure is a top reason gravel patios look bad quickly. If edging is too flexible, not staked deep enough, or not buried adequately, gravel will spread and undercut the border. Use steel edging when you want long-term stability, and bury/stake it at least several inches so it resists movement.
How do I avoid soft spots and uneven settling on a DIY gravel patio?
Many DIYers under-estimate compaction. If the base layer is not compacted in lifts and you do not verify firmness, you will get soft spots and uneven settlement within a season. Rent a plate compactor for the base, and take time to compact and re-check level before adding the surface stone.
Is a gravel patio a good idea if I might want to remove it later?
Often, yes. A gravel patio can be removable, but only if you can access and lift edging and remove the surface layer cleanly. For temporary use, keep the build lighter (not overbuilt), avoid hard-to-remove geotextile overlaps, and plan how you will handle raked-out material when you move.
What does maintenance really look like after installation?
Maintenance is easiest when you treat it like a seasonal habit, not a one-time job. A typical routine is raking a few times per year, re-leveling annually if needed, and adding a thin top-up every couple of years. If you notice washouts after rain, re-grade the problem area immediately rather than waiting for the next top-up.