For most homeowners with standard interlocking pavers or brick, a quality polymeric jointing sand is the best patio jointing compound you can use today. It sets firm, resists weeds, and handles rain without washing out when applied correctly. For wider joints on flagstone or natural stone (think 1/2 inch and beyond), a cementitious pointing mix or mortar is usually the better call. And for high-end porcelain tile or a patio that needs maximum durability with minimal maintenance, a resin-based jointing compound earns its higher price. The right choice comes down to three things: what surface you're jointing, how wide your joints are, and what your climate throws at it.
Best Patio Jointing Compound: How to Choose and Apply

Nolan Ellison
6 May 2026
Know your surface and joint size first
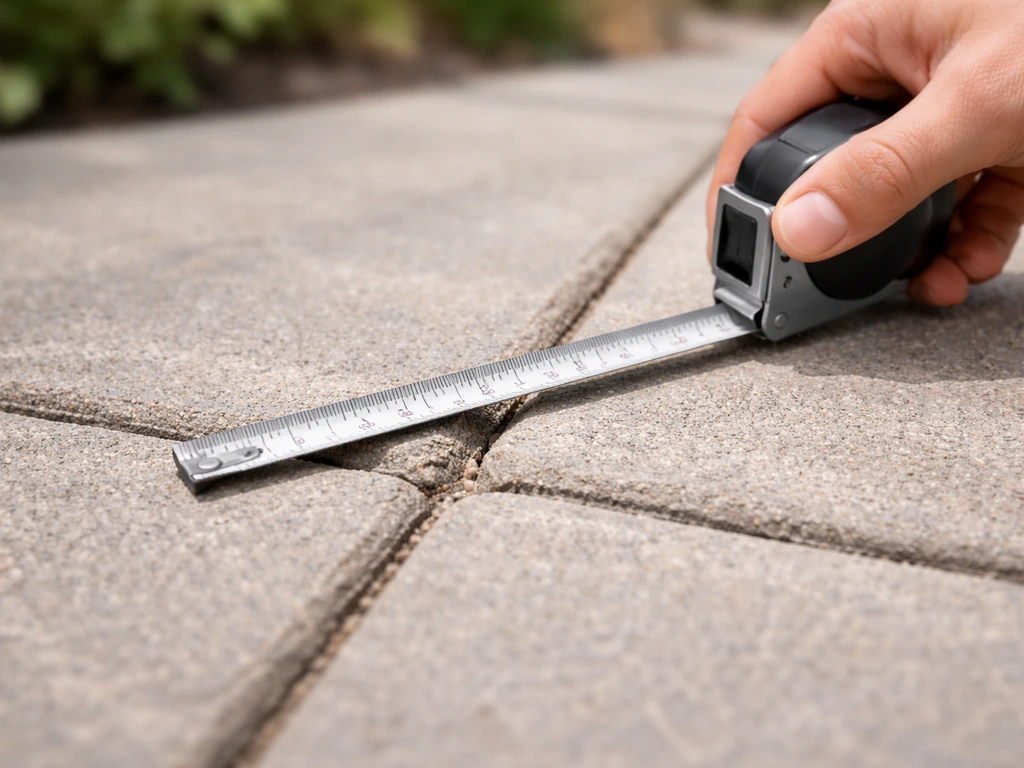
Before you buy anything, measure your joints and identify your patio material. These two factors alone will eliminate half the products on the shelf. A polymeric sand designed for 1/8 in to 1/2 in joints will fail in a 1 inch flagstone gap, and a stiff mortar mix can crack in the tight joints of a paver installation that needs a little flex. Getting this step right saves you from redoing the work in two years.
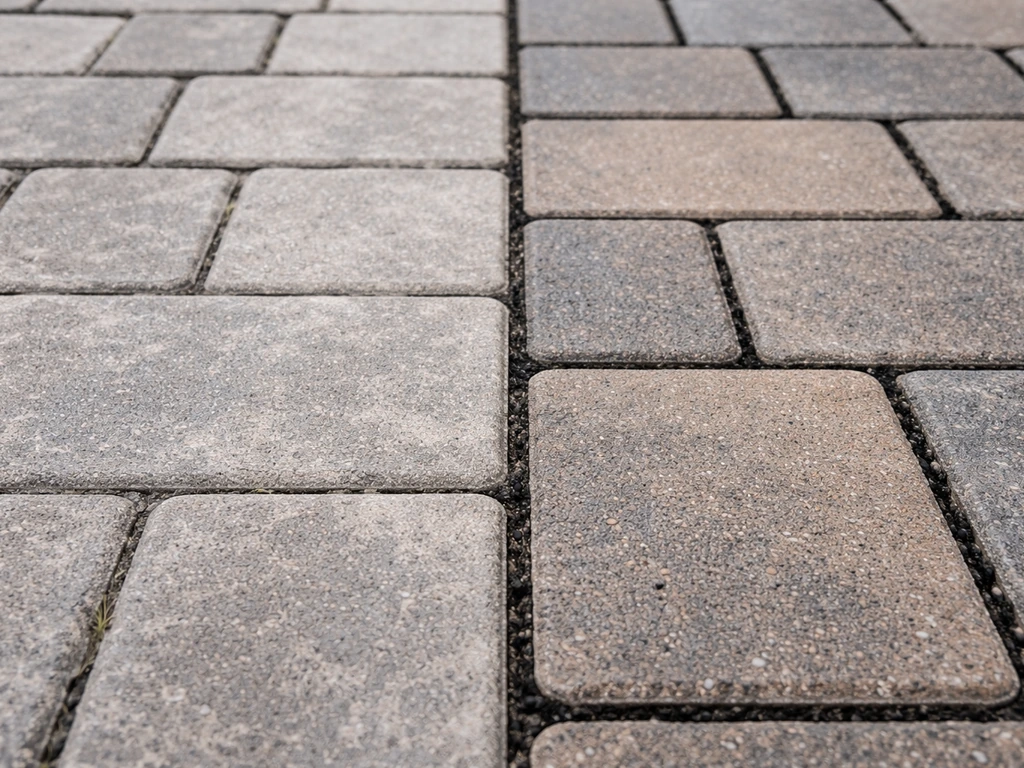
Interlocking pavers and concrete pavers
Manufactured concrete pavers typically have tight, uniform joints between 1/8 in and 1/2 in (3 mm to 13 mm). Polymeric jointing sand is purpose-built for this range. Products like Techniseal EZSAND and Alliance Gator SUPERSAND G2 both specify a minimum joint width of 1/8 in (3 mm), and QUIKRETE HardScapes Polymeric Jointing Sand handles joints up to 2 inches wide, which gives you flexibility if your pavers shifted or were installed with larger gaps.
Techniseal EZSAND polymeric sand specifies a minimum joint width of 3 mm (1/8") and a maximum joint width of 13 mm (1/2") minimum joint width of 1/8 in (3 mm). For example, QUIKRETE HardScapes Polymeric Jointing Sand is a well-known option when you want the best quikrete for patio joints in the 1/8 in to 2 inch range.
The chamfered edge on most pavers is also important: the sand should sit at least 1/8 in below the top surface or below the chamfer, not flush with it. That small recess is what keeps the joint stable and reduces washout.
Flagstone and natural stone
Natural stone patios, especially irregular flagstone, often have joints ranging from 1/2 in to 2 inches or more, with varying depths. That rules out most polymeric sands. Here, a cementitious pointing mix or a purpose-made jointing mortar is the right tool. You need something with body that won't slump or disappear into a deep gap. ROMEX ECOFINE is one hybrid option that bridges the gap between sand and mortar: it specifies joint widths over 1/4 in (5 mm) on stone and concrete pavers, and it's applied by pouring and squeegeeing with water activation rather than dry-sweeping like a polymeric sand. It also maintains water permeability at around 8.4 L/min/m², which matters for drainage on natural stone installations.
Brick patios
Brick joints are usually 3/8 in to 1/2 in wide, which puts them in a range that both polymeric sand and cementitious pointing mixes can handle. The key consideration for brick is compatibility: brick is porous and can absorb moisture differently than concrete pavers, so you want a compound that doesn't trap water behind it or cause efflorescence (that white salt bloom). QUIKRETE HardScapes Polymeric Jointing Sand is explicitly listed as compatible with brick, natural stone, and concrete slabs.
For a more traditional look with slightly more durability, a dedicated pointing mix or mortar gives a crisper, harder finish on brick. The related topic of the best patio pointing mix covers mortar-style options in more depth if that's your route.
Porcelain tile
Outdoor porcelain tile typically has very tight joints, often 1/16 in to 3/8 in, and needs a product that handles the non-porous surface without staining or bonding poorly. LATICRETE PERMACOLOR Grout covers joint widths from 1/16 in to 1/2 in (1.5 mm to 12 mm) and is a reliable choice for tile-format outdoor surfaces. For porcelain with wider joints, ROMEX ECOFINE specifies compatibility with joints over 1/8 in (3 mm). The non-porous nature of porcelain means you need to be especially careful about haze and residue: clean excess product off immediately before it cures.
The main jointing compound types and when each one wins
| Type | Best for | Joint width range | Weed resistance | Drainage | Difficulty |
|---|---|---|---|---|---|
| Polymeric jointing sand | Interlocking pavers, brick, concrete slabs | 1/8 in – 2 in (product-dependent) | Excellent | Good (permeable) | Easy to moderate |
| Cementitious pointing mix / mortar | Flagstone, natural stone, brick (wide gaps) | 3/8 in – 2+ in | Good | Low (non-porous) | Moderate |
| Resin / reactive resin jointing sand | Porcelain, premium pavers, high-traffic areas | 1/8 in – 1.5 in | Excellent | Good (permeable) | Moderate |
| Polymer-modified grout (e.g., LATICRETE PERMACOLOR) | Outdoor tile, porcelain, smooth stone | 1/16 in – 1/2 in | Very good | Low | Moderate |
Polymeric jointing sand
This is the go-to for most paver and brick patios. It's dry-swept into joints, activated with water, and hardens to a firm but slightly flexible compound that locks pavers in place and resists weed germination. Products like Techniseal HP NextGel position themselves as 'no dust, no haze, no waste,' which is a real improvement over older polymeric sands that left a white film on dark pavers. For DIY installs, the sweep-and-mist method is forgiving and fast. The main failure point is over-wetting: flood it and you'll float the polymer up onto the paver surface as a haze that's a nightmare to remove.
Resin-based jointing compounds
Resin jointing products like HYDROSWEEP (reactive resin joint sand) and ROMEX ECOFINE represent the premium tier. HYDROSWEEP handles joints from 1/8 in to 1. 5 in wide and can be installed in rain or shine, which is a genuine advantage for unpredictable weather. Resin systems are frost and de-icing salt resistant, and they remain water-permeable, which is important for patios over soil or drainage beds.
The one watch-out: some two-component synthetic-resin systems can leave a whitish or grey film on dark surfaces. ROMEX ECOFINE is specifically engineered with a 'no resin film' claim to address this. These products cost more and require precise application, but they earn their price on high-traffic areas or wherever you need maximum durability. The related topic on the best patio pointing resin goes into more detail on this category.
If you want the best patio pointing resin, focus on resin-based jointing compounds that are engineered for your joint width and climate.
Cementitious pointing mixes
For flagstone, irregular natural stone, or any joint wider than about 3/4 in, a cementitious mortar or pointing mix is often the most practical and affordable route. It fills depth well, sets hard, and gives a traditional look. The downside is it's less forgiving of movement: if your base shifts, mortar cracks. It also blocks drainage, so water will run across the surface rather than through the joints.
In a well-drained patio design that's not an issue, but it's worth knowing. The best mix for repointing patio surfaces has its own dedicated guidance if you're working specifically on a repair or re-pointing project. If you are choosing the best mix for repointing patio surfaces, match the compound type to your joint width and movement needs so it holds up after repairs.
How climate and drainage should drive your decision
Climate is not an afterthought. I've seen perfectly applied polymeric sand joints blow out after one brutal freeze-thaw winter because the wrong product was chosen for the conditions. Match your compound to your climate and you'll get years more life out of your joints.
Freeze-thaw climates (most of the US north, Canada)
If your patio freezes and thaws repeatedly through winter, you need a jointing compound that is both frost-resistant and flexible enough to accommodate slight movement. Rigid cementitious mortar can crack in heavy freeze-thaw cycles, especially in wide flagstone joints with variable depths. Resin-based compounds (like ROMEX or HYDROSWEEP) explicitly claim frost and de-icing salt resistance, making them well-suited here. Premium polymeric sands also perform well in freeze-thaw conditions because they retain some flexibility after curing. If you're in a northern climate using de-icing salts, avoid standard mortars in exposed joints: salt penetration causes spalling and joint failure.
High-rainfall and drainage-sensitive sites
If your patio is on a slope, near a downspout, or over a permeable base, drainage matters a lot. Cementitious mortars and polymer-modified grouts essentially seal the joint, so water has to go somewhere else (usually around the edges of the patio or pooling on the surface). Polymeric sands and resin sands are engineered to remain water-permeable: ROMEX ECOFINE measures around 8.4 L/min/m², which is meaningful drainage capacity. This permeability also helps the base stay stable rather than saturating and eroding. For patios on permeable sub-bases or in areas with heavy rain, a permeable jointing product is worth paying extra for.
Hot, dry, and sun-baked climates
UV exposure and extreme heat don't affect most modern polymeric sands significantly, but they can affect cheaper epoxy-style compounds that yellow or become brittle. In very hot climates, focus on weed resistance and ants: joint failure from insect burrowing is common in warm, dry regions. A firm, well-bonded polymeric sand or resin system limits the loose, granular voids that ants exploit. Avoid applying polymeric sand in direct sun on a 90-plus-degree day: the surface can dry before the water penetrates deep enough to activate the full joint depth.
Matching the right product to your joint width, finish, and weed control needs
Once you know your surface and climate, narrow down your choice using three practical filters: joint width, the finish you want, and how aggressively you need to control weeds.
Joint width matching
This is the most technical filter and the one most homeowners skip. Using a product outside its specified joint width range is a primary cause of joint failure. Techniseal EZSAND specifies 1/8 in to 1/2 in. Sakrete PermaSand requires a minimum of 1/4 in (6.4 mm). QUIKRETE HardScapes handles up to 2 in, which is unusually generous and makes it a solid choice for mixed-width or irregular jobs. HYDROSWEEP handles 1/8 in to 1.5 in. Measure your widest and narrowest joints, then check the product TDS (technical data sheet) to confirm it covers both ends of your range. Don't assume.
Finish and appearance
Polymeric sand sets with a sandy, slightly textured finish that looks natural with pavers. Mortar and cementitious mixes can be tooled to a smooth or slightly concave profile, which suits flagstone and brick beautifully. Grout-based products like LATICRETE PERMACOLOR come in multiple colors to match or contrast your tile. Resin systems are usually color-neutral and low-profile. If finish matters to you (and it should, since you'll look at it for years), pull a sample of your paver or stone and compare before committing to a color.
Weed and insect control
All polymeric sands and resin jointing products claim weed resistance, and they generally deliver it when installed correctly and fully cured. The key word is 'correctly': a shallow or poorly activated joint leaves loose sand near the surface where weed seeds can germinate. For the best weed control, fill joints to within 1/8 in of the top surface (or chamfer), activate properly, and let it cure fully before the first rain. Cementitious mortars also resist weeds well, but any cracking opens new germination sites. If weed pressure is a major concern (shaded patios, areas near garden beds), a resin system offers the most durable long-term barrier.
How to apply patio jointing compound the right way
Good prep work is 80% of a successful joint installation. Rushing the application step causes most of the failures I see: haze, washout, uneven curing, and joints that fail in the first season.
Surface prep
- Clear the existing joints completely. Use a joint scraper, stiff brush, or a small oscillating tool to remove old sand, debris, weeds, and roots. Any organic material left behind will decompose and create voids.
- Clean the paver or stone surface. Blow off loose dust and rinse the surface so you can see clean joint edges. Let it dry to the point where the surface is damp but not wet (avoid puddles).
- Check joint depth. Joints should be at least 1 in deep for polymeric sand to form an adequate bonded column. If your base is sitting high, you may need to excavate slightly.
- Confirm your joint width. Measure both the minimum and maximum gap widths and verify they fall within your chosen product's specified range.
- Check the weather forecast. Most polymeric sands and resin products need at least 24 hours of dry weather after activation. Don't start if rain is expected within that window.
Application: polymeric jointing sand (the most common method)
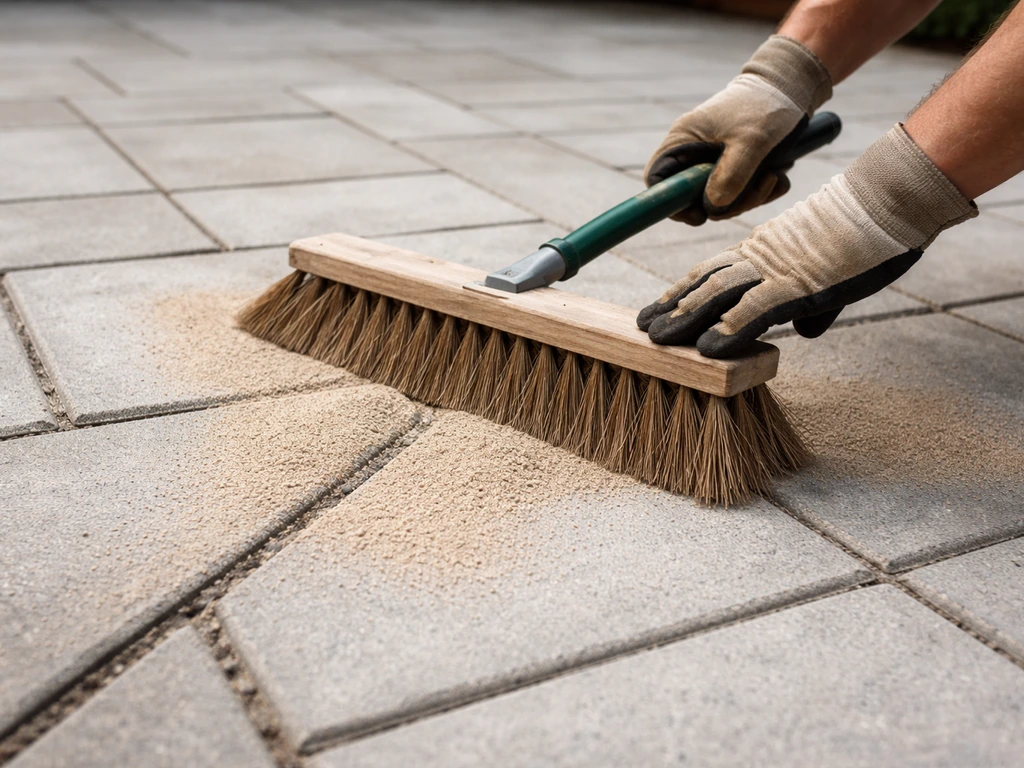
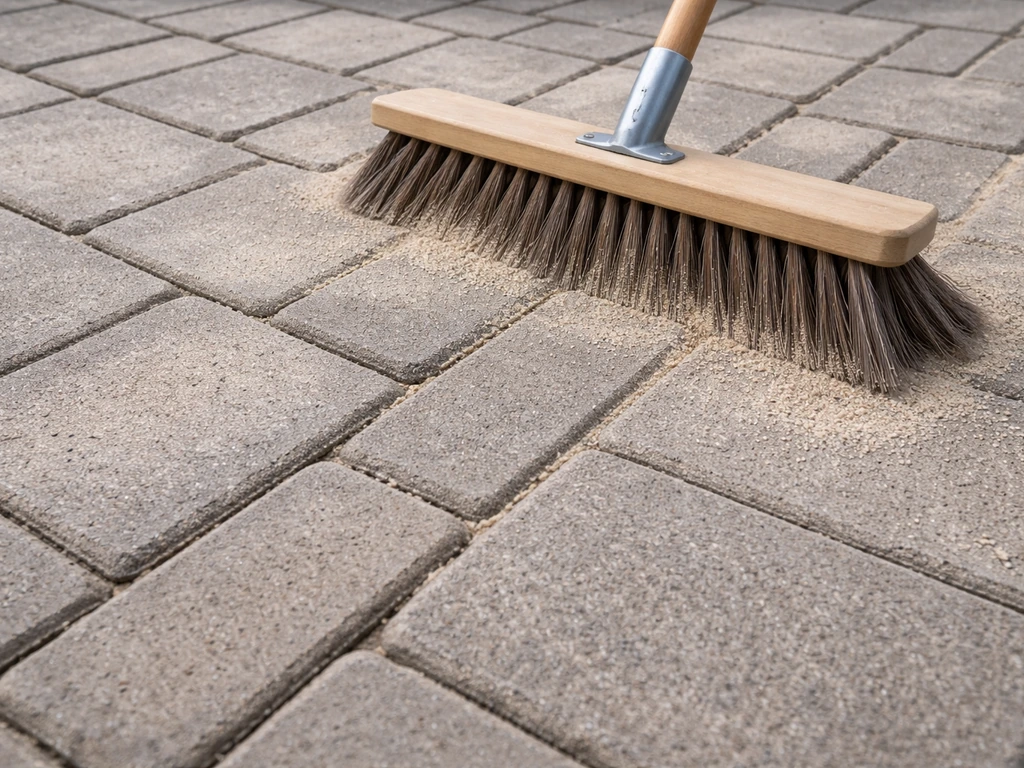
- Pour the dry polymeric sand across the patio surface and sweep it into the joints using a stiff-bristle push broom. Work diagonally to the joint lines to force sand into the gaps efficiently.
- Use a plate compactor (or hand tamper for small areas) over the filled surface to settle the sand deeper into the joints. This is a step many DIYers skip, and it causes shallow joints that wash out.
- Re-sweep to top up joints after compaction. Fill to within 1/8 in of the top of the paver surface or 1/8 in below the chamfer (not flush with the top). Alliance Gator SUPERSAND G2 is explicit about this: sand leveled higher than this is more exposed to surface water and erosion.
- Blow off all excess sand from the paver surface with a leaf blower before wetting. Any sand left on the surface will activate into a haze when you add water. This is critical.
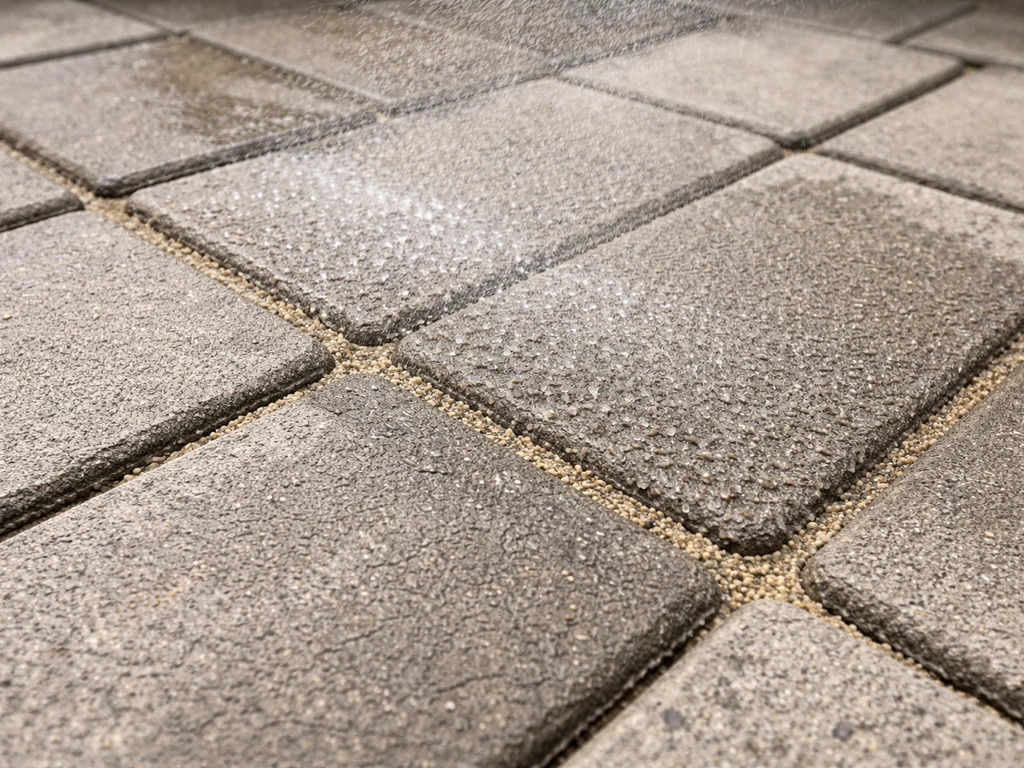
- Wet the joints using a hose set to a shower or gentle spray pattern, not a jet or fine mist. Fine mist can displace sand grains upward; a jet will wash everything out. Work in sections of about 30 sq ft at a time.
- Apply water until the joint surface repels it and water begins to bead or accumulate on top. This signals the full joint depth has been activated. Wait a few minutes and apply a second pass if the first water has absorbed. Sakrete notes: stop spraying when the sand won't take any more water.
- Keep all foot traffic and vehicle loads off the patio for a minimum of 24 hours, and avoid rain exposure during this curing window.
Application: resin jointing sand (ROMEX ECOFINE style)
Resin jointing mortars use a different process. After prepping and cleaning the surface, you pour the product directly from the bag or bucket into the joints and work it in with a squeegee. ROMEX ECOFINE specifically uses a 'gentle spray of water and squeegee' method to force the mortar into joints. Work in small sections, clean the surface as you go, and follow the manufacturer's specific water ratio and curing time. These products are less forgiving of improvisation, so read the TDS before you start rather than guessing.
Application: cementitious pointing mix
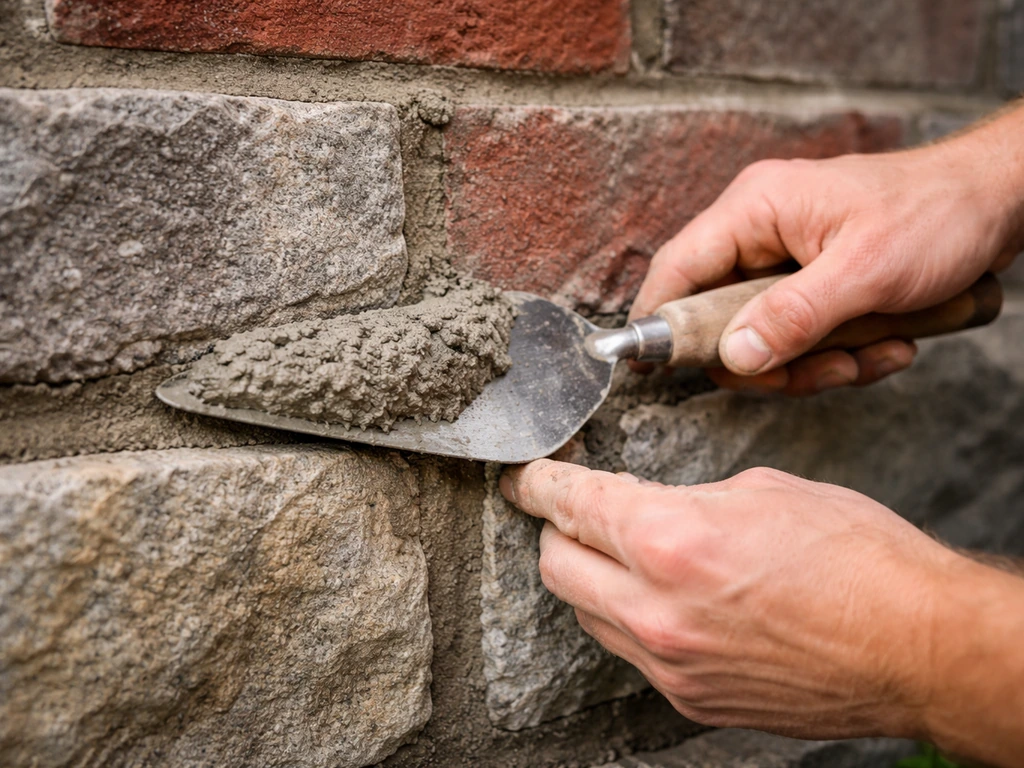
Mix your mortar to a firm, workable consistency (not sloppy). Apply it into joints using a pointing trowel or a grout bag, pressing it firmly into the joint to eliminate voids. Tool the surface to a slight concave profile before it sets up, which helps shed water. Work in manageable sections, and clean any excess off the stone or brick surface immediately with a damp sponge before it hardens. Curing time varies, but keep foot traffic off for at least 24 to 48 hours.
Common mistakes, failures, and how to fix them
Haze on the paver surface
This is the most common complaint with polymeric sand and the most avoidable. It happens when sand grains or polymer residue are left on the paver surface before activation, or when water is applied too aggressively and splashes sand-laden water onto the surface. Fix: blow off every trace of surface sand before wetting. Use a shower-pattern spray, not a fine mist. If haze has already appeared, some manufacturers recommend a specialized polymeric sand haze remover; do not use acid-based cleaners on all paver types without testing first. On dark pavers especially, even a faint film is visible, so the newer 'no haze' formulations like Techniseal HP NextGel or Alliance Gator SUPERSAND G2 are worth the slight premium.
Sand washing out after rain
If you see sand eroding or streaking onto adjacent surfaces after the first good rain, the joint wasn't filled to the right depth, the product wasn't activated properly, or it was rained on before curing. If joints are now shallow, you can often re-sweep additional polymeric sand into the voids and re-activate: this works reasonably well as a top-up on joints that are 50% or more still intact. If the joints are nearly empty, do a full re-installation.
Cracking in cementitious joints
Mortar cracks almost always trace back to movement in the base (settling, frost heave, or poor compaction during installation). If it's surface cracking only (hairline), you can rout out the crack and re-point with fresh mortar. If joints are cracking systematically across the whole patio, the base is moving and re-pointing is a temporary fix: the real repair is at the base level. This is a situation where switching to a more flexible polymeric sand or resin jointing system for the re-point can buy you more time between repairs.
Weeds returning
Weeds germinating in patio joints are not growing up from below in most cases: they're germinating in debris and organic material that has settled on top of the joint. If you see weed recurrence in a well-jointed patio, the top layer of the joint has been colonized by windblown soil and organic matter. The fix is cleaning joints with a stiff brush or pressure washer (carefully) and re-sweeping fresh polymeric sand or resin product into the top 1/4 in of the joint. Don't remove everything: just top up the depleted zone.
When to redo joints completely
Full re-jointing is warranted when: joints have lost more than half their depth across large sections of the patio, weeds or ants have undermined the base and there are rocking or sunken pavers, the existing compound is incompatible with your intended new product (some resin systems don't bond well over old cementitious material), or you're seeing widespread cracking or heaving. If it's just surface-level wear or partial depletion, a targeted top-up is usually enough.
Keeping your joints in good shape long term
Even a well-installed joint won't last forever. Realistically, a quality polymeric sand installation in a moderate climate lasts 5 to 10 years before needing significant attention. Resin systems push that to 10 or more years with normal maintenance. Cementitious mortar can last indefinitely in a stable, dry environment, but in freeze-thaw or heavy-traffic conditions, expect to re-point sections every 5 to 7 years.
Routine maintenance
- Inspect joints every spring after the freeze-thaw season. Look for cracking, void formation, and low spots.
- Keep organic debris (leaves, soil, mulch) swept off the patio surface. Decomposing organic matter is the primary food source for weed germination in joints.
- Avoid pressure washing joints at high pressure: it strips polymeric sand and can dislodge mortar. If you need to pressure wash, use a low-pressure wide-fan nozzle and sweep in fresh sand afterward.
- Re-top joints with matching polymeric sand as needed, typically every 2 to 3 years in high-traffic or exposed areas.
- If you seal your pavers, apply sealer after re-jointing, not before. Sealer over old joints can lock in deteriorating material and accelerate joint failure.
Re-jointing best practices
When it's time for a full re-joint, take the opportunity to assess the base. If any pavers are rocking, lift them, address the base, and re-set before re-jointing. Trying to stabilize a rocking paver with joint compound alone never works. Also check compatibility: if you're switching product types (say, from an old polymeric sand to a resin system), clean out the old material as thoroughly as possible. Resin products in particular need clean, uncontaminated joint walls to bond correctly. The best patio joint filler guide covers product-level options in more detail if you're focused specifically on a repair scenario rather than a full installation.
One last practical note: buy slightly more product than you think you need. It's common to underestimate how much volume your joints actually hold, especially on irregular or deep joints. Running out mid-project and letting partially activated product sit exposed is a recipe for inconsistent curing and patchy results.
FAQ
Can I use the best patio jointing compound if my joints are slightly larger or smaller than the label says?
It’s usually not a small tolerance issue. If you’re outside the product’s specified range, the compound can wash out (too large) or crack and lose bond (too small). Measure the widest joints across multiple areas, then choose a product whose stated minimum and maximum both cover your range in the real world, not just the “typical” spacing.
How deep should I fill pavers joints so the jointing compound won’t fail early?
Fill to the target depth consistent with the product instructions, and in general aim to leave the top of the jointing material slightly recessed (around 1/8 inch below the surface or below the chamfer). Overfilling can trap residue on the surface and cause haze, while underfilling makes it harder to activate fully and easier to erode.
What’s the safest way to activate polymeric sand without causing haze on dark pavers?
Use a controlled shower-pattern spray, wet in light passes, and stop before you see runoff carrying sand grains across the paver surface. If you rely on a “fine mist only,” activation may be shallow. If you use too much water at once, you can float polymer up onto the surface, creating a film that is very hard to remove on dark colors.
Do I need to remove all old polymeric sand or resin before redoing patio joints?
If you’re doing a full re-joint or switching product types, remove as much of the old material as possible from the joint walls and bottom. Resin systems, in particular, may not bond well to contaminated or partially cured old jointing residue. For simple top-ups where joints are still structurally intact (and reasonably full), you may only need to clean and replenish the top portion.
How long should I wait before walking on or driving on a newly jointed patio?
Follow the cure time on the specific product, because it varies by formula and temperature. As a practical rule for mortar-style pointing, keep foot traffic off at least 24 to 48 hours, and avoid any heavier loads until the joint has fully set. For polymeric sand, don’t rush the first rain cycle, curing needs to complete before it’s exposed to wash risk.
Will rain ruin polymeric sand if it happens during curing?
It can, especially if the product is not fully activated or has not finished curing. If rain occurs early, it can wash out sand near the surface and leave shallow joints. If possible, plan installation so you have a dry window long enough for both activation and curing, and check the product label for minimum weather tolerance.
Is resin-based jointing better than polymeric sand if I’m dealing with weeds and ants?
Resin systems often hold up better for persistent weed or insect pressure because they form a more durable barrier near the joint surface. That said, any jointing product works only if joints are filled to the correct depth and cured properly. If your issue is primarily weeds reappearing from surface debris, cleaning and re-filling the top zone can solve it without switching products.
How do I choose between polymeric sand, cementitious pointing mix, and resin when my patio drains poorly or sits on a slope?
If water needs to pass through the joints to manage drainage, prioritize permeable jointing systems designed for that purpose. Cementitious mixes tend to seal the joint more, which can push water to the surface or edges. Resin and polymeric systems are typically engineered to remain water-permeable, which helps keep the base from saturating on slopes or heavy-rain sites.
Can I use cementitious mortar on tight paver joints, or will it crack?
Cementitious mortar is less forgiving when movement is expected. Tight paver joints can experience micro-movement as the base shifts or temperatures change, which can lead to cracking. If your joints are within the paver range and you want flexibility, a polymeric or resin product designed for your joint width is usually a safer match than rigid mortar.
What should I do if I already see haze or white film after using polymeric sand?
Stop adding water and avoid acid cleaners without testing on your specific paver type. Some manufacturers recommend dedicated haze removers for their products. The most reliable prevention is removing all surface residue before activation and using controlled water delivery, especially on dark or porous pavers where residue visibility is worst.
When is full re-jointing necessary instead of a simple top-up?
Top-up is usually appropriate only when joints are still at least about half full and structurally intact, with localized surface depletion. Full re-jointing is warranted when you see widespread cracking or heaving, rocking or sunken pavers, undermining from weeds or ants that compromises the base, or when switching from one product chemistry to another (for example, old cementitious material to resin) that requires clean bonding surfaces.
Do UV exposure and extreme heat change which jointing compound I should buy?
They can, particularly if you’re tempted by cheaper epoxy-style alternatives that may yellow or become brittle. Even with modern polymeric sands, heat can affect activation because the surface can dry before water penetrates to fully activate deeper joints. In very hot weather, schedule work to avoid peak sun on the paver surface and follow the activation method precisely.
How do I prevent jointing from leaving debris or sand tracks on my patio after installation?
Plan the work so you can work in sections and clean as you go, especially for mortar-style products where excess can set quickly. For polymeric sand, keep foot traffic minimal until activation and curing are complete, and sweep only clean, loose residue rather than grinding sand into the paver surface. Also consider using a plastic edge tool or brush to confine material and prevent streaking onto adjacent surfaces.
Is it normal to need more product than calculated, and how much should I buy?
Yes, underestimating joint volume is common, especially on irregular pavers, flagstone, and variable-depth joints. Buy slightly more than your estimate so you don’t run out mid-project and risk inconsistent curing between batches. If you’re between sizes, rounding up is safer than trying to stretch product.